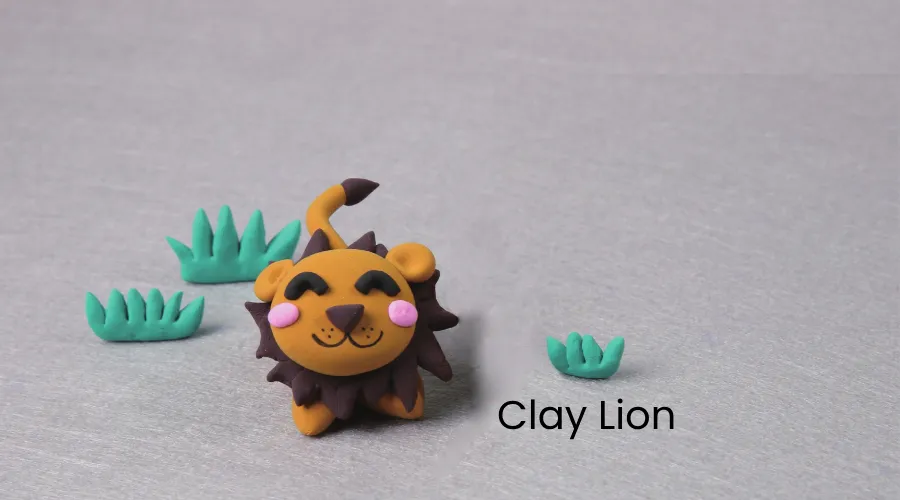
The little lion in “The Lion King” is impressive. Do you also want to have a lion of your own? Yes, you can! In this blog, we will guide you step by step to learn and make a clay lion.
Oh, don’t worry, it’s easy. We will be using air dry clay, a craft medium and educational toy recommended by school teachers. You can find this lightweight modeling clay in toy or stationery stores. It’s like marshmallow, not only soft and light, but also rich in color.
Children and beginners use air-dry clay to make their first creations. This is the first step in the journey of imagination and creativity. LET’S GET STARTED.
Prepare materials
We need to prepare air-drying clay of different colors and some small tools:

- Air-dry clay: white, brown, orange, yellow, black, pink.
- Tools: creasing rod, scissors.
When you have prepared the above materials, we can start the creation journey of clay lion.
Modeling Clay Idea: How to Make a Lion with Clay Tutorial
In this tutorial we’ll walk you through making a clay lion step by step. Air-dry modeling clay is easy to shape and requires no baking, so even beginners and children can easily create crafts with it.
Step 1: Make the Clay Lion’s Body
We start by mixing three colors of air-dry clay: yellow, brown and orange. After stretching and kneading them several times, the color of the clay will gradually become even and turn into a yellowish-brown color.
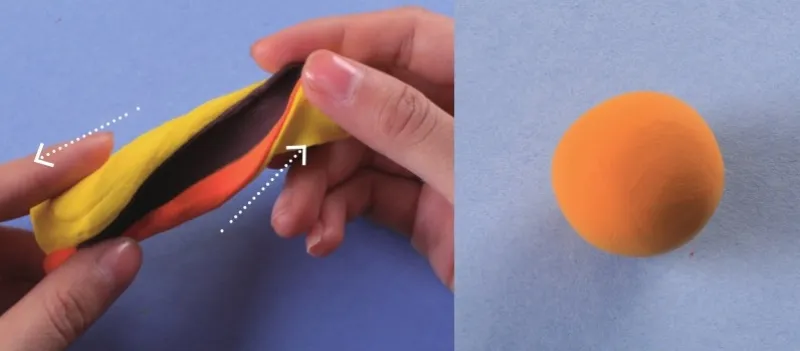
This color is close to our ideal lion hair.
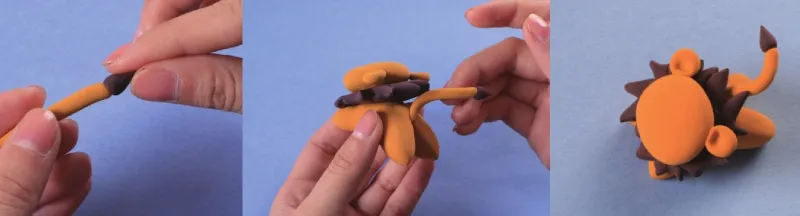
We take a piece of lion-colored clay and knead it into an ellipsoid. Use our scissors tool to cut the ends of the oval. Just like the picture shows.
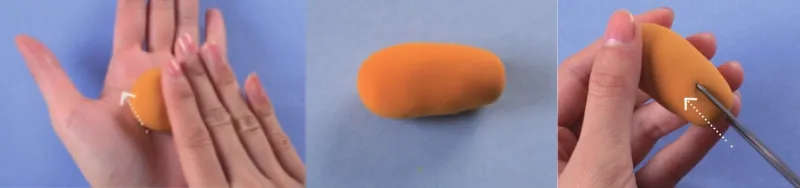
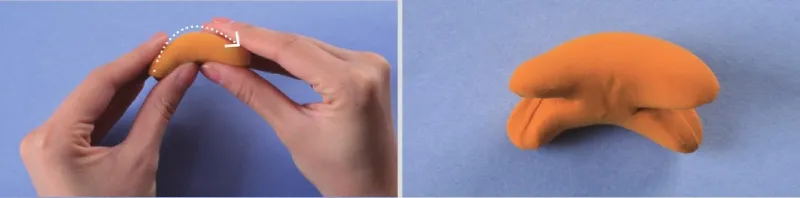
Use your fingers to gently separate the four legs. It looks a bit like a delicious bear cookie. Be careful not to tear the clay apart.

Hold the modeling clay in both hands and gently bend it inward. Just make it a little curved.
Step 2: Make the Clay Lion’s Mane
You know, a lion has a bushy mane. We used brown air-dry modeling clay to create it.
First, use your hands to knead a ball. You can imagine it’s a chocolate ball because they look alike, but don’t eat it.
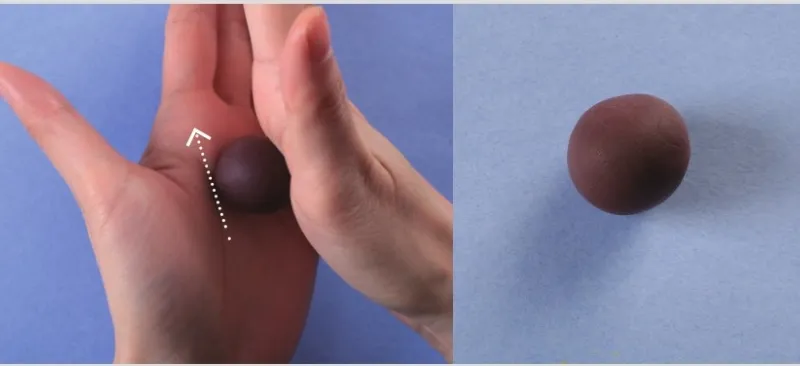
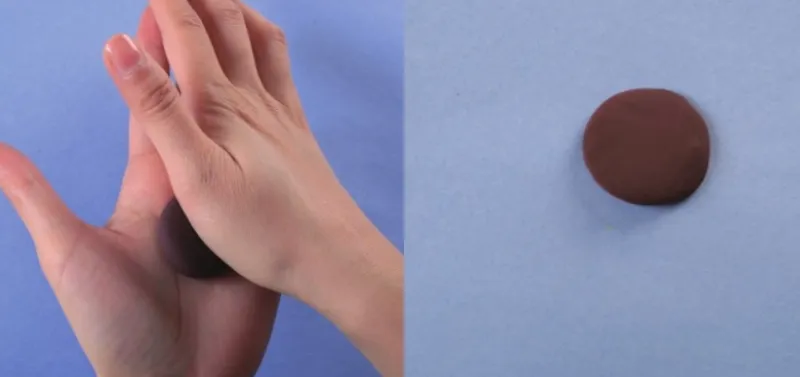
Using the palm of your hand, close to your thumb, flatten the chocolate ball.
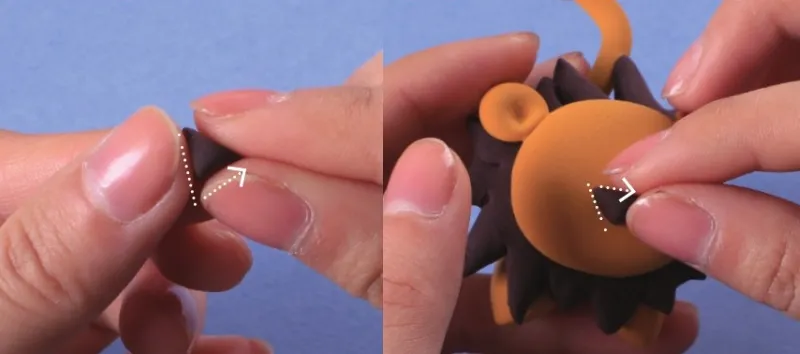
Take your scissors tool and cut out some zigzag shapes around the edges of the flattened clay.
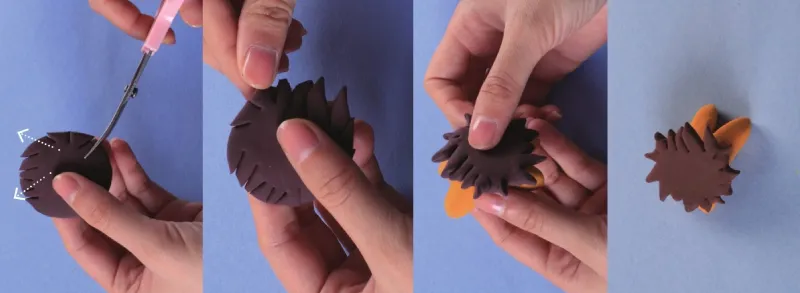
If it is your first time, it is best to cut it as shown in the picture.
Step 3: Make the Clay Lion’s Head
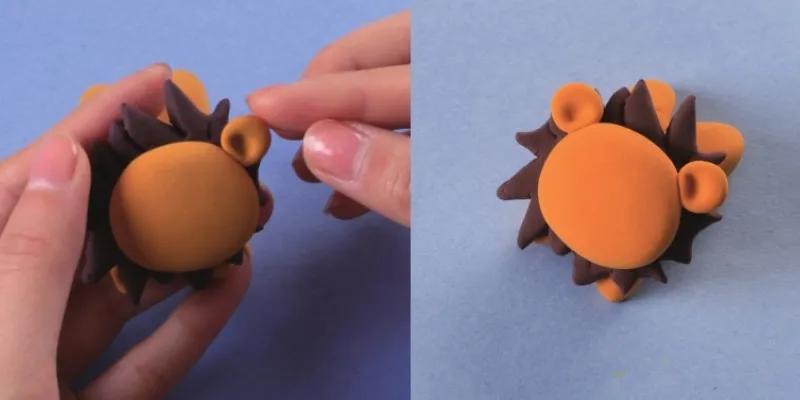
We retrieve the clay we just used to make the body, take a small piece and roll it into a ball. Use the your palms to flatten the ball into a pie shape and place it on top of the clay lion’s mane.

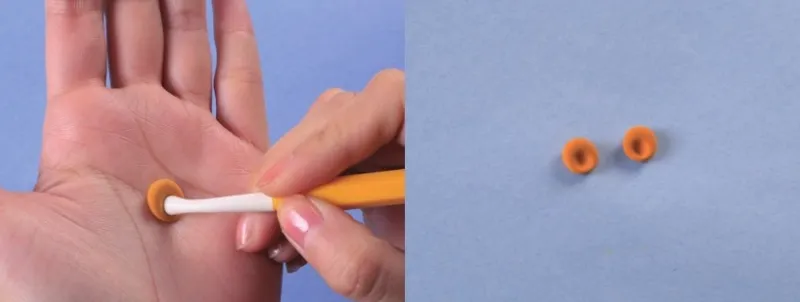
Take a little bit of clay and roll it into two small balls. Flatten the ball slightly with your fingertips. You can place it on the table and press lightly with a ruler or other tool. Be careful not to flatten it completely.
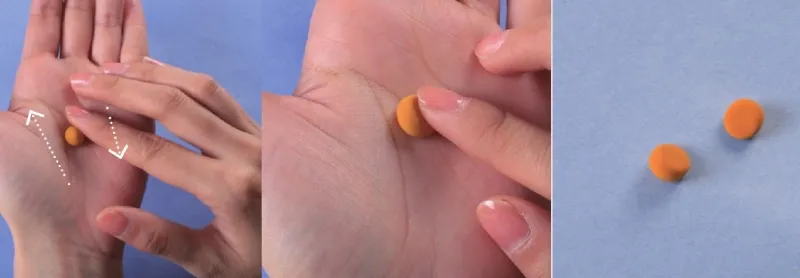
Then use a stick to press down on the center of the ball. These are lion’s ears, so you’d better make them the same size.
Stick the ears to the left and right sides of the lion’s head. Note that the lion’s ears are on the upper part of the head, not near the midline of the face.
Step 4: Make the Clay Lion’s Tail
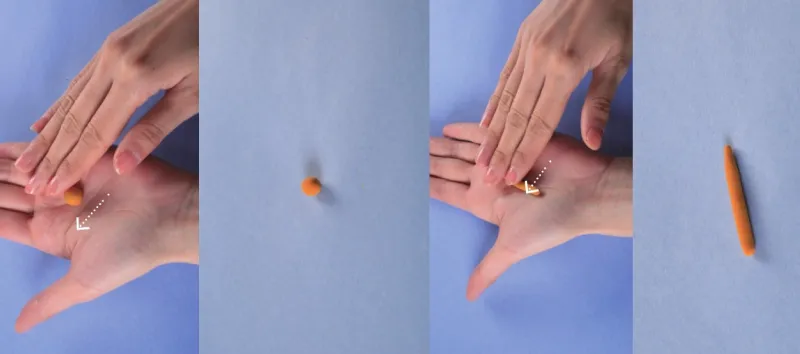
Take a little lion-colored clay and roll it into a long and thin strip in the palm of your hand. Make sure one end is more pointed than the other, like an elongated drop.
Take a little more brown air-dry clay and shape it into a drop shape.
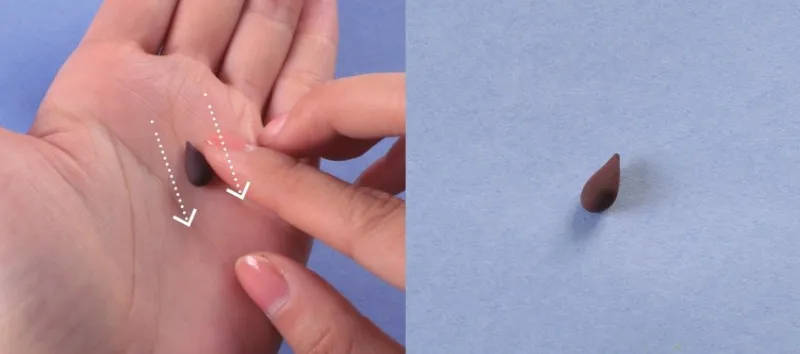
Attach this brown clay to the thicker end of the front strip of clay. It looks like a candle. Attach this tail to the back of the lion’s body and use your fingers to bend the tail slightly so it looks like it’s waving.
Step 5: Make the Clay Lion’s Face
This is the last and most important step. First, let’s make the nose. Take a little bit of brown air-dry clay and shape it into a triangle. Place the nose in the center of the lion’s face.
Next are the eyes to make our lion look happy. Take a little bit of black clay and roll it into two slender cylinders. Bend them with your fingers. You can make it into the shape of “<” or “)”, which are both happy expressions.
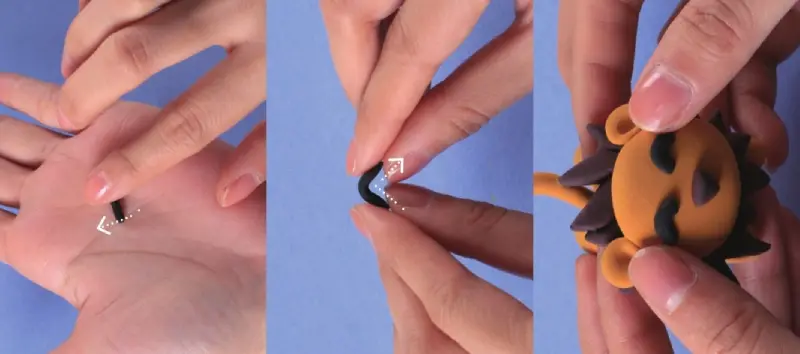
Place the eye part above the nose. Since these parts are so small, you may not be able to control them very well. We can use tools to fix them on the lion’s face, which will reduce difficulty and errors.
Then, we used a black pen to draw the mouth and beard of the lion.
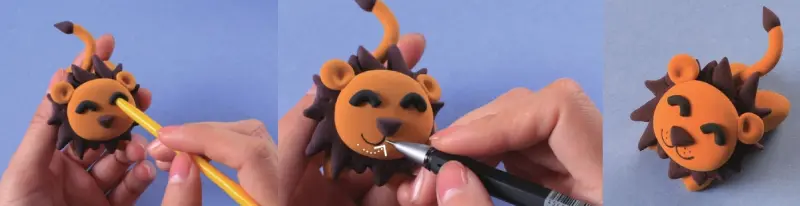
Finally, we took tiny pink clay, kneaded it into two mini dots, and attached them to the lion’s cheeks. This will make it look cute.

When you finish making the clay lion, place it in a ventilated and cool place and its surface will dry within a few hours. Typically, air-dry clay will be completely dry after 24 hours.
Note that we don’t need to bake it. Don’t put it in the microwave or oven! And don’t burn it with fire!
Read the articles below to find out why:
- Can you Bake Air Dry Clay? 5 Risks You Need to Know!
- How Long Does Air Dry Clay Take to Dry
- How to Store Air Dry Clay for Maximum Shelf Life
Conclusion
In the tutorial above, we made a clay lion in 5 steps. It’s easy and requires neither specialized skills nor special equipment. Anyone can play with it and create beautiful crafts with it. That is why air dry modeling clay is also a wonderful educational toy that is trusted in schools and families.
Maybe you will be interested in: