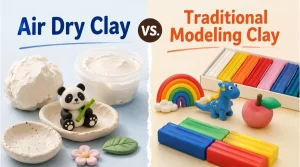
Air Dry Clay vs. Traditional Modeling Clay
Choosing between air dry clay and modeling clay depends on the activity goal. Explore their features, uses, and selection tips in this complete guide.

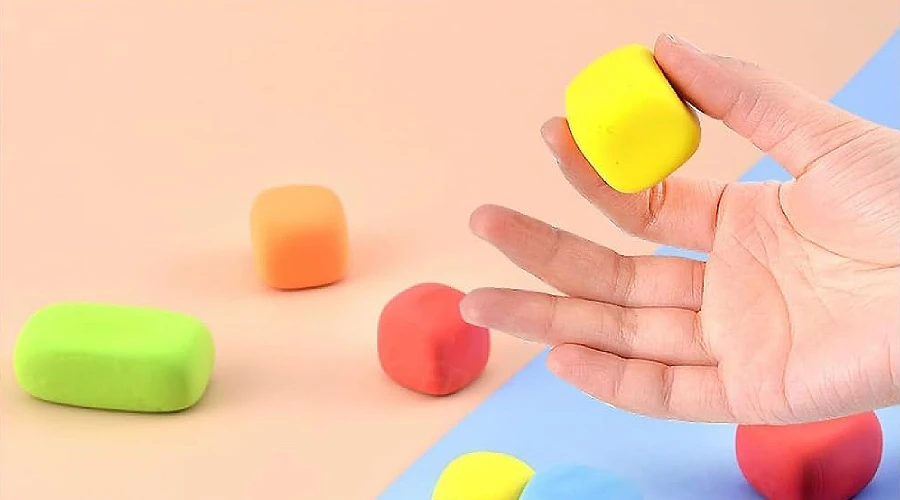
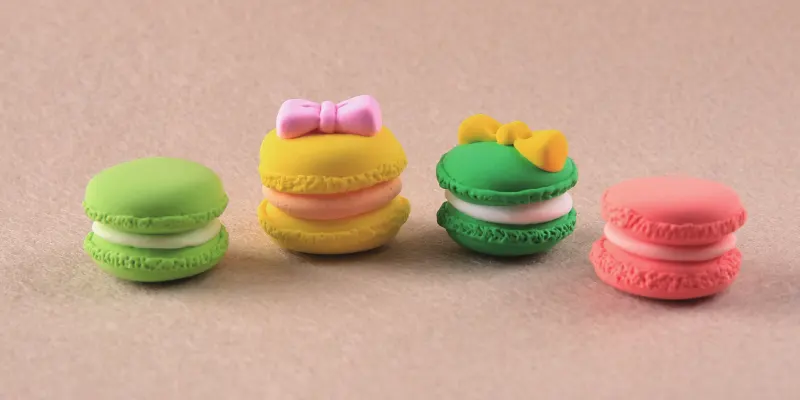
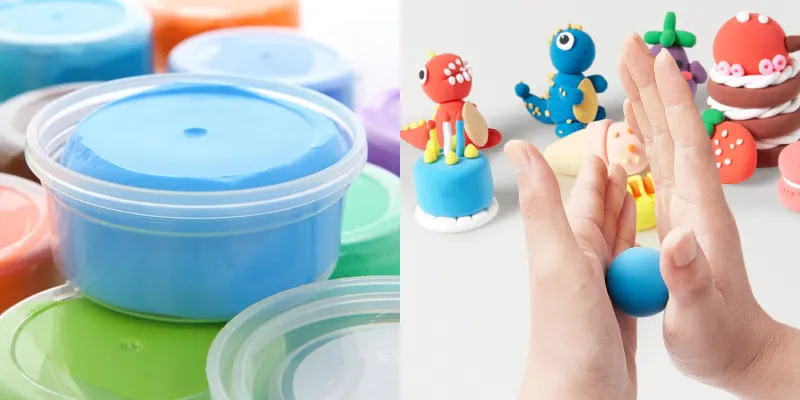
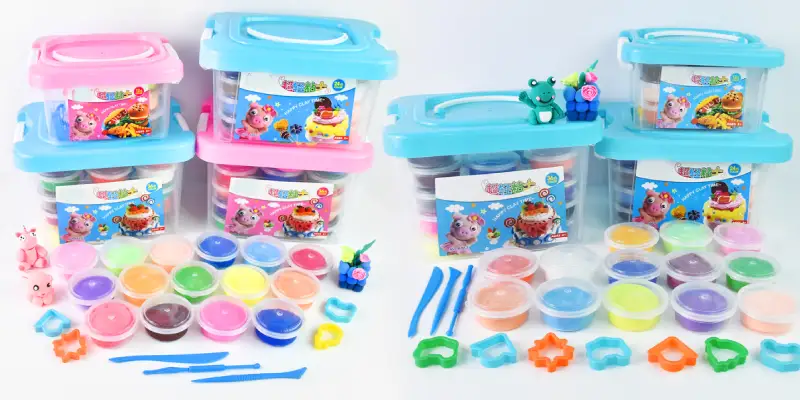
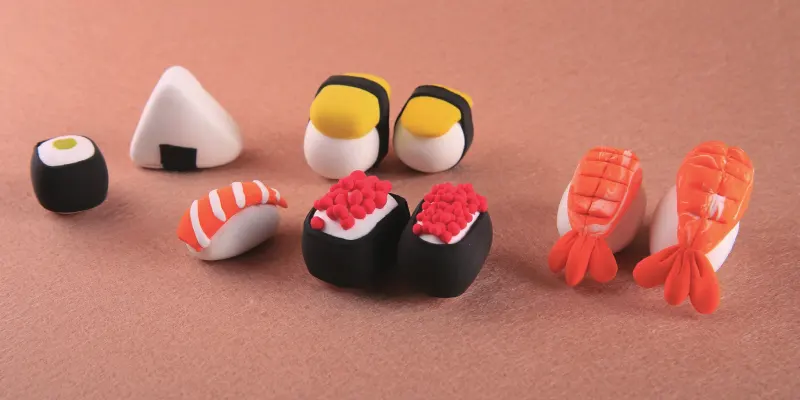
Air-dry clay for kids is a playful and creative way to explore crafting. This lightweight, soft material comes in vibrant colors and is easy to mold into shapes like animals, flowers, and characters. Unlike traditional clay, it dries naturally in the air without the need for baking.
While air-dry clay is fun, waiting for it to harden can test a child’s patience—especially when they’re eager to show off their creations! Faster drying becomes essential when crafting for school projects, birthdays, or even just to preserve those imaginative designs before they lose their shape.
Air-dry clay is a lightweight, soft crafting material popular with kids and hobbyists. Unlike traditional clay, it doesn’t need a kiln or oven to harden. Instead, it dries naturally in the air, making it easy and safe to use at home or in classrooms.
Most air-dry clay is made from PVA (polyvinyl acetate) and other non-toxic ingredients. This gives it a smooth texture, perfect for shaping colorful creations like animals, plants, or even miniature toys. It’s often chosen for its eco-friendly nature, as it doesn’t require additional energy to cure.
Its versatility also stands out. Whether you’re sculpting fine details or flattening it with your hands, air-dry clay adapts to any skill level. However, this convenience comes with one challenge: the drying process can take time, especially for thicker designs.
The drying process of air-dry clay relies entirely on evaporation. As water escapes from the clay, the surface hardens and gradually becomes solid. This natural process explains why thinner pieces dry faster—they allow moisture to escape more quickly.
Several factors influence how long it takes.
Crafting with thinner layers or hollow designs can help manage drying times while keeping the clay sturdy.
Speeding up the drying process for air-dry clay can be simple with the right strategies. By adjusting your environment, techniques, and tools, you can cut drying time without compromising the integrity of your creations.
The environment where air-dry clay dries plays a major role in the process.
Airflow
Increasing airflow is one of the easiest ways to help water evaporate faster. Placing a small fan near your clay project can improve circulation, but avoid pointing it directly at delicate pieces to prevent cracks.
Humidity
A dehumidifier can work wonders, especially if you live in a damp area. By reducing moisture in the air, the clay dries more efficiently. Keep in mind that extremely dry conditions might lead to shrinkage or uneven drying.
Temperature
While room temperature is ideal for even drying, slightly warmer environments can help speed things up. However, extreme heat may cause warping or cracking, so avoid placing clay in direct sunlight or near a heater.
One effective technique is to work with thinner layers or smaller sections of clay.
Certain tools and materials can make a noticeable difference in drying time. Absorptive surfaces like paper towels or cardboard can pull moisture away from the clay’s base. Just make sure to check for sticking and replace these surfaces as needed.
Hairdryer
Hairdryers are a convenient tool for drying air-dry clay, but use them with care. Keep the dryer on a low, warm setting and move it around to avoid overheating any single spot. Direct heat can cause uneven drying or even cracks.
Heat lamp
For more advanced crafters, heat lamps can be helpful, but only when used with caution. Keep the lamp at a safe distance and monitor the drying process closely. Too much heat can ruin the structure of your clay project.
Speeding up the drying process for air-dry clay often comes with its own set of challenges. From cracks to uneven drying, knowing how to address these issues can make a big difference in your crafting success.
Cracks are a common problem when air-dry clay dries too quickly. This happens because the surface loses moisture faster than the inner layers, causing stress that leads to fractures. Larger or thicker pieces are especially prone to this issue.
To prevent cracking, it’s essential to manage the drying pace. If you’ve been using fans or warm air, slow things down once the surface feels firm to the touch.
Covering the clay loosely with plastic wrap or a damp cloth can help equalize the drying rate. It’s all about finding balance—too slow, and you’ll wait forever; too fast, and you risk breakage.
A quick tip: cracks don’t always mean the end of your project. Minor cracks can be repaired by mixing a small amount of fresh clay with water to create a paste. Apply this to the damaged area and smooth it out before letting it dry again.
Uneven drying can cause frustration, especially with larger projects. You might notice some areas feel dry while others remain soft. This happens because thicker sections of clay hold onto moisture longer, while thinner parts dry faster.
For instance, if you’re sculpting a figure, create separate parts like the arms and legs and attach them after they’ve partially dried. This approach ensures more consistent drying throughout the project.
If uneven drying has already occurred, you can rehydrate the problem areas. Lightly mist the overly dry sections with water and cover the entire piece with a damp cloth to redistribute moisture. Let it sit for a while before resuming the drying process.
Another option is to use a turntable or rotate the clay piece manually every few hours. This ensures all sides get equal exposure to air, reducing the likelihood of uneven drying.
Understanding how air-dry clay compares to other types of clay can help you choose the right material for your projects.
Air-dry clay and polymer clay differ significantly in how they dry and set. While air-dry clay relies on natural evaporation, polymer clay requires baking in an oven to cure. This fundamental difference affects both the speed and method of completing projects.
For artists needing fast results, lightweight clay often has the advantage. Its faster drying time and spongy nature make it a favorite for delicate or intricate designs. However, air-dry clay is still the go-to for larger, sturdier projects.
Air-dry clay projects are delicate, but with the right care, they can last for years.
Sealing air-dry clay is essential for protecting your work from moisture, dust, and wear. Since this clay remains porous even after drying, an unsealed project can absorb water and weaken over time.
When sealing, apply thin, even coats with a brush, letting each layer dry before adding the next. This ensures full coverage and prevents streaking. A small figurine might only need one or two layers, but functional items like bowls or planters require extra care.
Unused air-dry clay dries out quickly when exposed to air, so proper storage is crucial. To keep your clay fresh, always store it in an airtight container. A zip-lock bag or a sealed plastic box works well. Before sealing, press out as much air as possible to reduce moisture loss.
Some people also wrap their clay in plastic wrap before placing it in a container. This double barrier slows the evaporation process. If the clay begins to feel dry, adding a damp paper towel inside the container can help restore some of the lost moisture.
A friend once left a bag of clay open during a crafting session and returned to find it crumbly and hard. To save it, she kneaded small amounts of water into the clay over time. While it worked, proper storage would’ve saved her the trouble!
>> Air Dry Clay Crafts to Make with Your Kids
>> How to Make a Clay Lion Step By Step | Modeling Clay Idea
Drying air-dry clay faster requires a combination of environmental control, techniques, and tools. By managing airflow, temperature, and humidity, using thinner layers, and applying the right drying methods, you can speed up the process without compromising the quality of your project.
Always finish with proper sealing and store unused clay carefully to ensure long-lasting results.
Choosing between air dry clay and modeling clay depends on the activity goal. Explore their features, uses, and selection tips in this complete guide.
Understand the science behind eco-friendly air dry clay, including material selection, production difficulties, and the future of sustainable toy materials.
Find out why parents and educators prefer DIY craft kits that encourage hands-on learning, independent creativity, and skill development.
Understand how toy ideas become finished products through OEM manufacturing, with key steps, decision points, and compliance requirements.