
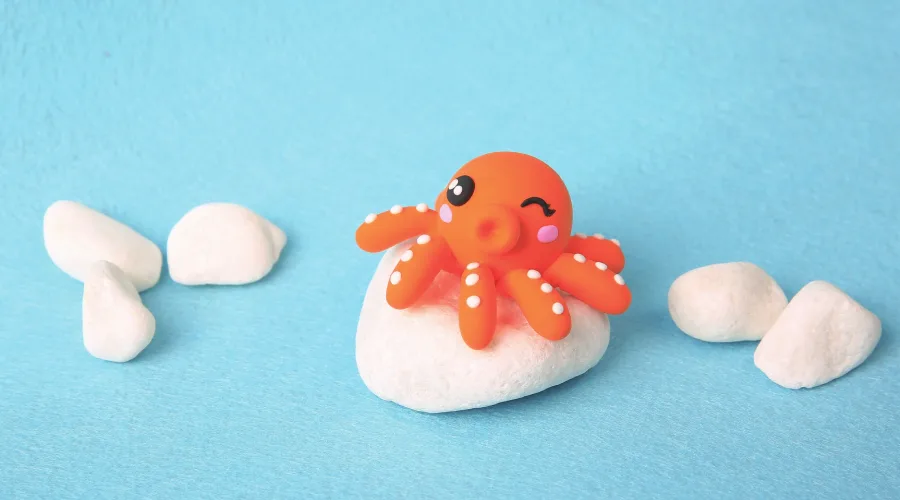
[Video] Air Dry Clay Idea Flower Booming…💗🌸
Booming…💗🌸 #akia #fun #diy #kidstoys #clay #shorts

Air drying clay is a fascinating material for craft enthusiasts, especially beginners. Unlike traditional clay, it hardens naturally without the need for kilns or ovens. This makes it accessible to anyone, anywhere. Its lightweight and versatile nature allow crafters to shape it into nearly anything, from delicate jewelry to sturdy home decor.
In this blog, you’ll discover 10 fun and creative projects you can make with air drying clay. We’ll guide you through each idea step-by-step, ensuring even first-timers feel confident to dive in. Whether you’re crafting for fun, gifts, or practicality, there’s something here for everyone.
Crafting with air drying clay is like unlocking a world of possibilities. It’s simple to use, versatile, and safe for everyone. Whether you’re a beginner or an experienced artisan, this material offers a unique balance of creativity and convenience.
Air drying clay is a soft, moldable material that hardens naturally when exposed to air—no baking required. Most air drying clays are PVA-based, making them lightweight and flexible during use but durable once dry. They are non-toxic and safe for kids, a feature that parents and educators appreciate.
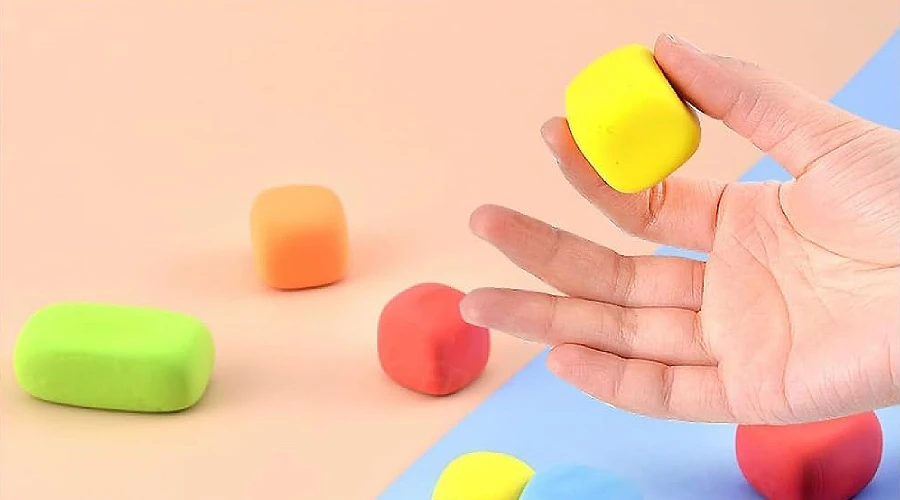
Compared to polymer clay, which requires baking, air drying clay is more accessible. It also feels softer and is easier to handle for beginners. Unlike traditional modeling clay, it doesn’t leave hands sticky or greasy, making it a clean and hassle-free option.
Air drying clay offers numerous advantages that make it a favorite among crafters of all ages and skill levels. Whether you’re creating small decorations or detailed sculptures, this material simplifies the crafting process while providing endless creative potential.
Here are some key benefits of using air drying clay:
From its simplicity to its versatility, air drying clay is an ideal material for creative projects. Whether you’re a beginner exploring new crafts or an experienced maker seeking convenience, this clay adapts to your needs while inspiring creativity at every step.
To get the best results with air drying clay, having the right tools makes all the difference. While this material is easy to work with, a few basic and optional tools can elevate your projects, making them more precise and polished. Here’s a list of must-haves and nice-to-haves for crafting with air drying clay:
With these tools, you can turn air drying clay into anything your imagination dreams up, from simple crafts to detailed sculptures. Start with the basics, and as your skills grow, add optional accessories to refine your work and create truly professional-looking pieces.
Getting started with air drying clay can be a fun and rewarding experience. With a few helpful tips, you can avoid common mistakes and create impressive projects.
Before you start, always knead the clay to soften it and make it more pliable. This process, known as conditioning, helps remove air bubbles and ensures a smooth texture. If the clay feels dry, add a small amount of water and work it in gradually. A common trick is to wrap unused clay tightly in plastic wrap to keep it moist between uses.
For clean and precise shapes, use a flat surface and a rolling pin to even out the clay. When molding intricate designs, work in small sections and use sculpting tools for fine details. Beginners might find silicone molds or cookie cutters useful for creating consistent forms. To avoid fingerprints, smooth the surface with a damp sponge or your fingertips.
Air drying clay dries naturally, but rushing the process can lead to cracks. Let your project dry on a flat, non-stick surface in a well-ventilated area. Rotate it occasionally to ensure even drying. If cracks appear, don’t panic! You can patch them with a bit of softened clay or a clay-water paste before sealing.
Once the clay is completely dry, you can paint it with acrylics or watercolors. To make your project last longer, apply a clear sealant or varnish. This adds a protective layer and enhances the finish, whether glossy or matte. For outdoor projects, use a weather-resistant sealant to protect against moisture.
Air drying clay is incredibly versatile, offering endless possibilities for crafting. Here are 10 fun and easy clay projects to get you started!
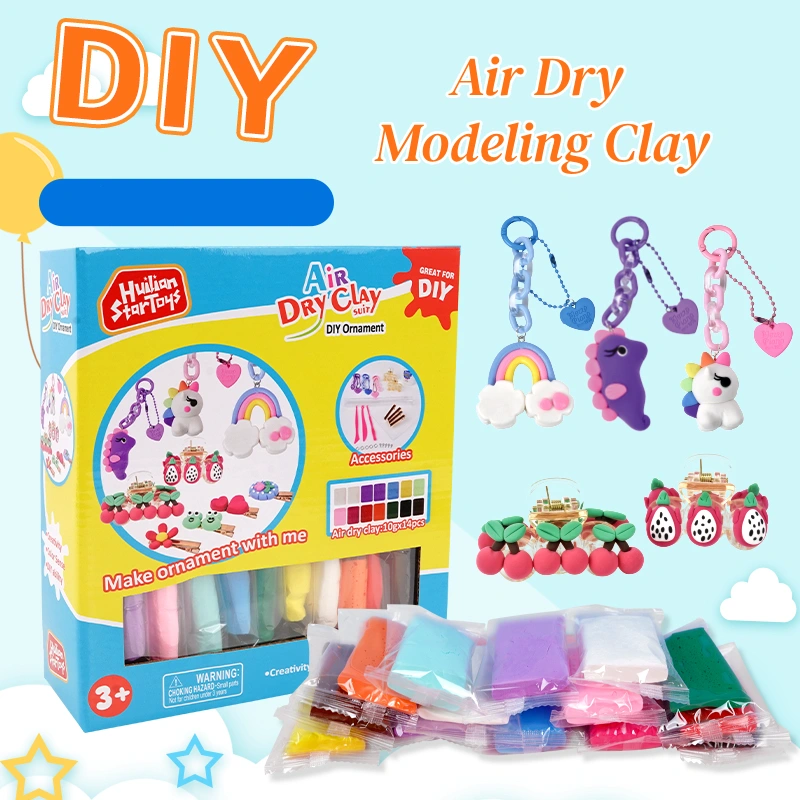
Making personalized keychains is an enjoyable way to use air drying clay for small, thoughtful gifts.
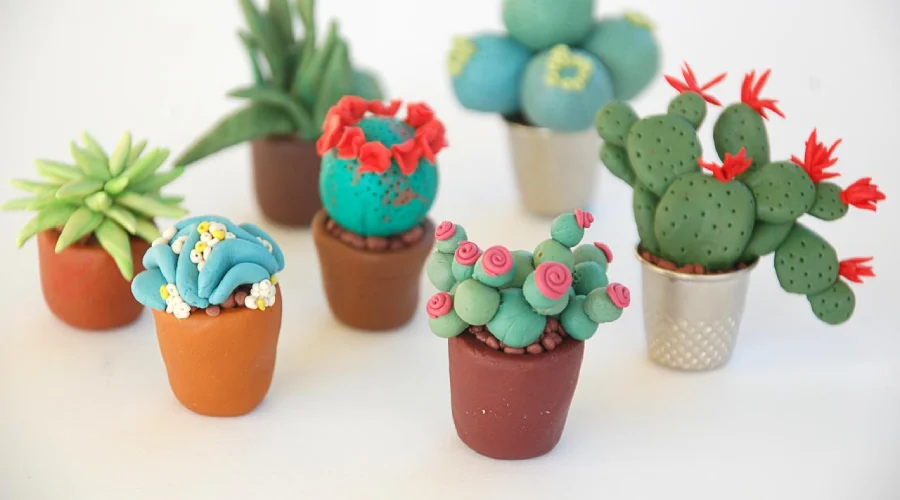
Air drying clay is perfect for crafting small planters to house your favorite succulents or herbs.
Create stunning, one-of-a-kind jewelry pieces using air drying clay.
Air drying clay makes for stylish, functional coasters that protect your tables.
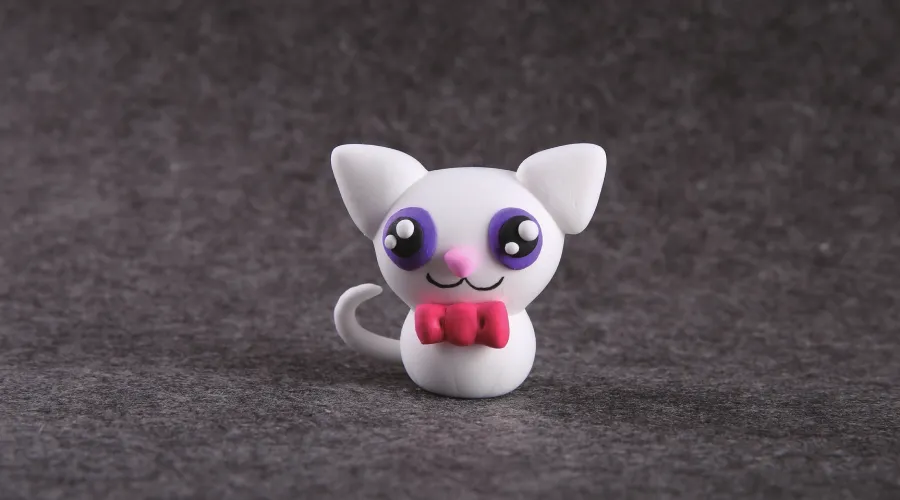
Crafting adorable animal figurines is a great beginner project for air drying clay enthusiasts.
Create unique clay ornaments that can hang on the wall and add a personal touch to any space.
Small trinket dishes are not only decorative but also functional for storing jewelry or keys.
Personalize your refrigerator or bulletin board with quirky magnets or pins.
Design your own candle holders for tea lights or small candles using air drying clay.
Get creative with holiday-themed decorations, perfect for Christmas, Easter, or any festive occasion.
Air drying clay is a fantastic medium for beginners to explore their creativity. From personalized keychains to holiday decorations, the possibilities are endless. With simple tools and a bit of imagination, you can create unique, handcrafted pieces that make great gifts or home decor.
>> The Ultimate Guide to Faster Drying Air Dry Clay Projects
Booming…💗🌸 #akia #fun #diy #kidstoys #clay #shorts
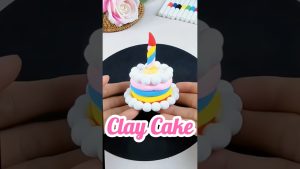
Beautiful clay cake🎂🥳 #akia #fun #kidstoys #diy #clay
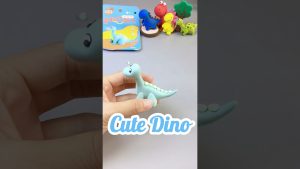
A cute dinosaur cartoon made from clay 🦕💗 #akia #fun #diy #kidstoys #clay

👀🥰Watch the clay turn into a little character #akia #fun #diy #kidstoys #clay