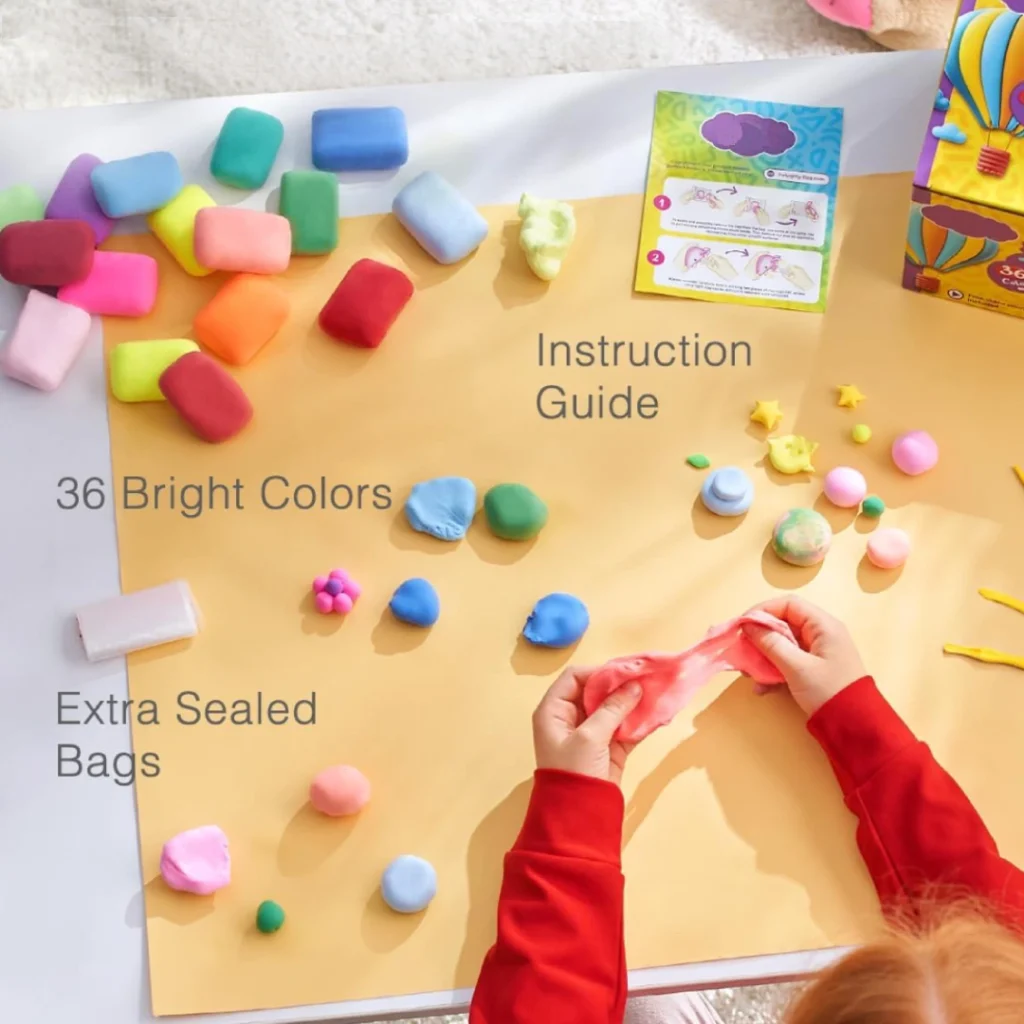
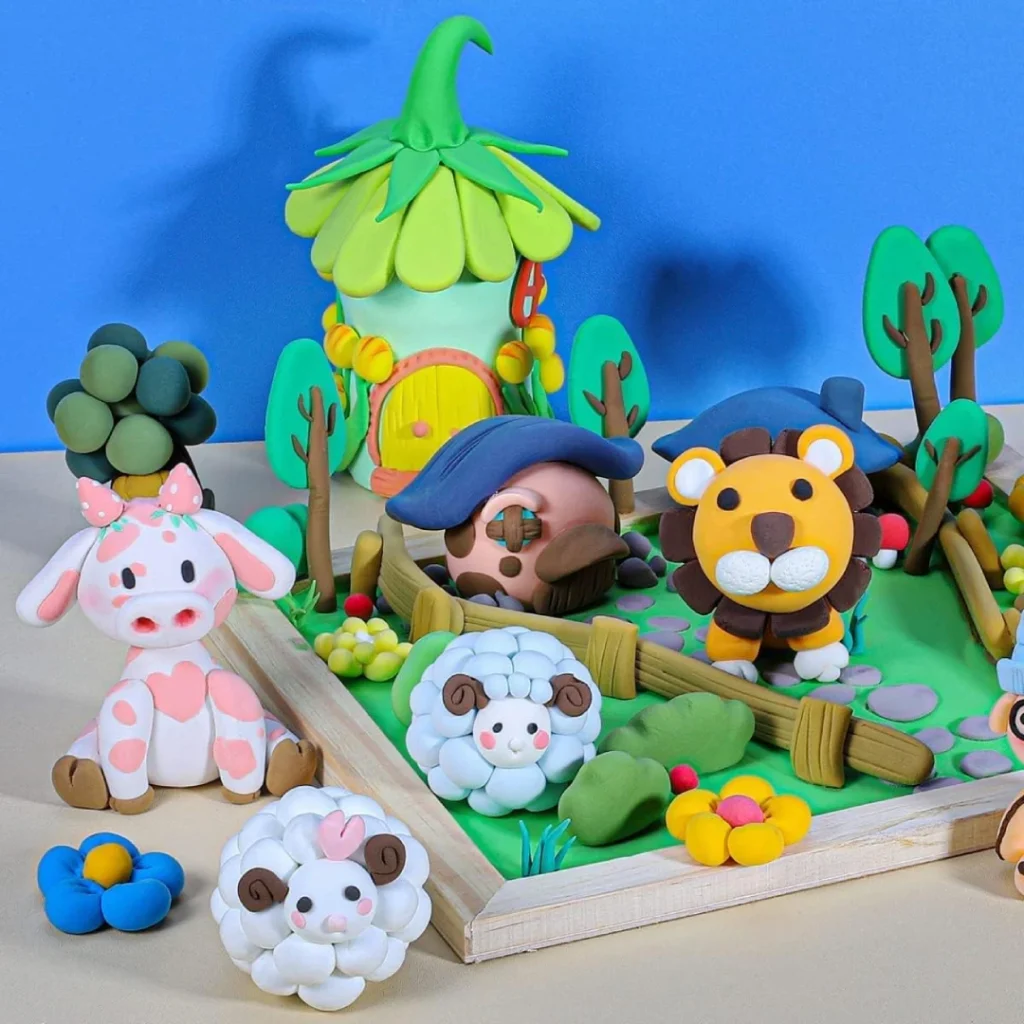
What Is the Best Colored Air-Dry Molding Clay
A practical guide to the best colored air-dry molding clay—covering texture, color quality, durability, and child-safe materials.

Air dry clay is often loved because it hardens without a kiln. Yet its simple nature makes it prone to cracks and breaks. To understand why, we must look at its makeup, how it dries, and how it compares to other clays.
Air dry clay is usually made from water, cellulose, and fine powders. This blend makes it soft and easy to shape. But once the water evaporates, the clay particles pull closer together, leaving it stiff but also brittle.
Imagine a child shaping a tiny bird. At first, it feels smooth and bendy. After a day, the same bird hardens. The thin wings, however, snap at a light touch. The science is simple—less water means less flexibility.
Cracks form because moisture escapes unevenly. If one part of the clay dries faster than another, stress builds up. The clay pulls in different directions, and gaps appear.
Another issue comes from thickness. A large, solid sphere might look strong, but as the outer layer dries, the inside stays wet. Over time, this imbalance makes the surface split, like earth in a summer drought.
Air dry clay dries through evaporation, while oven-baked clay undergoes a chemical change. Heat bonds the particles more tightly, giving baked clay extra strength.
This explains why a polymer pendant can survive a fall from a desk, while an air dry version may chip. Both are clays, but their hardening processes make them behave very differently once finished.
Strong air dry clay projects often begin long before the drying stage. The way the clay is handled in the first moments matters most. Careful preparation reduces weakness and sets a solid base for sculpting.
Kneading clay warms it up and spreads moisture evenly. Just like bread dough, clay becomes smoother and more flexible when pressed and folded again and again.
A young student once skipped this step and tried to make a mask. Cracks showed up almost right away. After learning to knead for a few minutes, the next mask held together much better.
Clay that is too dry feels crumbly. Clay that is too wet becomes sticky and hard to shape. The trick is to find the middle ground, where it bends without breaking.
One simple test is the pinch method: press a small ball between two fingers. If the edges stay smooth, the moisture is right. If they split or collapse, adjustments are needed with water or drying time.
Air bubbles hide inside rolled clay, waiting to cause trouble. When the clay dries, trapped air expands and pushes outward, leaving small cracks or even holes.
Rolling and folding the clay gently can push these bubbles out. Some artists even poke a needle into thicker areas as a precaution. It looks like extra work, but it saves projects from sudden breaks.
>> What Is the Best Air Dry Clay for Beginners? A Friendly Guide
The tools and methods used in shaping clay can make the difference between a fragile piece and one that lasts. Careful handling, smart design, and hidden supports all help reduce the chance of breaks.
Simple household tools can shape clay, but dedicated sculpting tools give more control. A flat blade can smooth surfaces, while loop tools carve without tearing. Better control means fewer thin spots that weaken later.
Think of carving a small figurine. Using a butter knife may scrape chunks away, while a rounded sculpting tool makes clean curves. That smoother finish helps prevent stress points as the clay dries.
Thin or narrow parts, like fingers, tails, or handles, are common places for breaks. Adding a little extra clay or blending seams well during sculpting can give these spots more strength.
A student once shaped a clay bridge with very slim beams. It looked nice, but the beams snapped the next morning. The same project worked better after the beams were thickened and blended with more clay.
For larger or taller projects, an armature acts like a skeleton. Wires, sticks, or even crumpled paper inside the clay help carry weight and prevent collapse.
An artist making a horse sculpture may hide wire inside the legs. Without it, the legs bend or break as the clay dries. With it, the horse stands firm, and the clay is less likely to crack.
Some makers like to change the clay itself before sculpting. By mixing in extra materials, they adjust texture and strength. These small changes can make finished pieces less fragile and more reliable.
Fibers act like tiny threads that hold clay together. When the clay dries, the fibers stay inside, giving extra grip between particles. Paper pulp or cotton works well for this.
One classroom experiment mixed shredded tissue into clay. The projects looked the same on the outside, but the fiber-filled clay bent a little before breaking. The plain clay snapped right away.
PVA glue, often called white glue, can make clay less stiff. When blended into the clay, it keeps the particles from locking too tightly, so the surface bends slightly instead of cracking.
A hobbyist once added a few drops of glue while repairing a clay pot. The patched area dried smoother and resisted chipping when tapped. Without the glue, the patch would likely have fallen apart.
Cornstarch and flour don’t make clay stronger by themselves, but they change how it feels and dries. A little starch gives the clay a finer, less sticky texture, which can help in shaping thin details.
However, too much can cause brittleness. One young crafter added a handful of flour to make sculpting easier, but the final piece broke faster. Balance matters more than quantity.
How air dry clay dries decides whether it stays whole or splits apart. Rushing the process often leads to cracks, while steady and even drying helps the clay stay strong.
Clay shrinks as water leaves. If the outside dries much faster than the inside, stress forms and cracks appear. Slow drying keeps this balance under control.
One trick is to cover the clay loosely with plastic wrap. A child once left a clay bowl uncovered, and by morning it had a wide crack. The second time, with a cover, the bowl dried without problems.
A stable environment makes a big difference. Rooms that are too dry pull water out quickly, while damp rooms can slow the process unevenly. Both situations raise the chance of weak spots.
Artists sometimes use a cardboard box as a drying chamber. It shields the piece from drafts and lets air move gently, which helps the clay dry at a steady pace.
Sunlight and heaters may seem like shortcuts, but they cause the clay to dry too fast. Sudden heat makes the surface shrink quickly while the inside stays wet, leading to cracks.
One student placed a small figure near a radiator to speed things up. The figure looked fine at first but split across the middle later. Patience, not heat, keeps clay intact.
Once clay is dry, the surface is still fragile. Extra layers on the outside can give it protection. These treatments don’t change the inside of the clay but act like a shield to keep it from breaking too easily.
Sealants soak into the surface and reduce how much moisture or air can reach the clay. This helps the piece stay stable over time. A thin, even coat is usually enough.
In one workshop, a group sealed their clay ornaments with clear spray. Weeks later, their shapes stayed firm, while the unsealed ones became dusty and chipped around the edges.
Thicker coatings, like varnish or resin, form a hard shell around the clay. This layer takes the impact if the piece is bumped, keeping the clay inside from crumbling.
An artist once brushed resin over a clay pendant. The result was glossy and solid. A matching pendant without the coating cracked after just a few uses. The resin acted like armor.
Paint does more than add color. Acrylic paint, for example, adds a thin barrier that keeps the surface from absorbing moisture too quickly. It may not be as strong as resin, but it still helps.
Children often notice this effect without knowing it. A painted clay toy tends to last longer than a bare one, not only because of looks but also because the paint gives it a bit more toughness.
Even with care, air dry clay can still crack or snap. Repair is possible if done with patience. The right fixes can restore strength and sometimes make the piece sturdier than before.
Clay slip is simply clay mixed with water until it looks like thick cream. Brushing slip into cracks and pressing the edges together often works as a first repair step.
A child once noticed a split in a clay cup. By adding slip and blending carefully, the crack closed. After drying again, the mark stayed but the cup held together.
For bigger breaks, glue can act as a bond. PVA or craft glue fills gaps between pieces, while fillers like extra clay or even tissue strengthen weak joints.
One hobbyist used glue and paper to patch a broken clay mask. The patched area ended up stronger than the rest of the mask, proving that repairs can sometimes improve durability.
After fixing, the surface may look uneven. Sanding gently smooths it out and helps new coatings stick better. Once sealed with paint or varnish, the repair blends in.
A small figurine with a glued leg looked patched until it was sanded and repainted. After that, no one could tell it had ever broken.
>> What Not to Do with Air Dry Clay: Essential Tips
Not all clays behave the same way. Each type hardens in a different process, and this shapes how durable the final piece will be. Comparing them helps explain where air dry clay stands.
Polymer clay hardens in the oven, where heat fuses plastic particles into a dense structure. This makes it bend slightly before breaking, which gives it an edge in durability.
Air dry clay, by contrast, only loses water. Without heat bonding, it stays porous and more likely to snap. A polymer pendant might survive falling off a shelf, while an air dry one may chip on impact.
Ceramic clay is fired in a kiln at very high temperatures. The heat changes the minerals into a stone-like material. Once glazed, it resists water and pressure.
Air dry clay cannot reach this level of hardness. A ceramic bowl may last for decades, while an air dry version is mostly decorative. It looks similar but is far more fragile in daily use.
Air dry clay still has a place. It is safer for children, easier for beginners, and doesn’t need special tools like ovens or kilns. Projects can start and finish at home or in a classroom.
One art teacher chose air dry clay for a workshop because everyone could take their pieces home the same day. Even if the items were fragile, the process was simple and fun.
Even with proper preparation and additives, small habits can make projects last longer. Following a few expert tips helps reduce breakage and keeps pieces looking their best over time.
Children often rush through shaping, which can leave cracks or thin spots. Encouraging slow, steady work, careful kneading, and even checking moisture levels can prevent many problems.
A teacher once had kids sculpt tiny animals. Those who took a few extra minutes kneading and smoothing their clay had fewer cracks the next day than those who skipped these steps.
Thicker, simpler shapes handle stress better than very thin or tall pieces. Bowls, coasters, tiles, and small figurines tend to hold together well, while long, narrow parts like antennas or thin limbs are more likely to break.
A student made a set of clay coasters instead of a tall sculpture. The coasters stayed intact for weeks, showing that project choice affects durability as much as clay technique.
Even after drying, clay can chip if knocked around. Keeping finished pieces on a stable surface, away from humidity, heat, or direct sunlight helps maintain strength.
Some artists store small items in soft boxes or wrap them in tissue. This prevents accidents and protects delicate edges from bumps.
Making air dry clay unbreakable requires understanding its composition, careful preparation, and proper techniques. From kneading and moisture control to drying methods, additives, and surface treatments, each step reduces fragility.
While air dry clay cannot match the strength of oven-baked or ceramic clays, following these expert tips helps create durable, long-lasting pieces. Patience, proper handling, and thoughtful project choices ensure that your creations stay intact and enjoyable for years to come.
>> How Many Types of Clay for Kids? A Fun and Complete Guide
A practical guide to the best colored air-dry molding clay—covering texture, color quality, durability, and child-safe materials.
A practical guide on pre-colored air dry clay safety, including potential risks, handling tips, and ensuring safe creative play for children.

Air dry clay made easy: practical miniature-making advice for smoother sculpting, safer handling, and more durable tiny designs.
Expert insights on choosing the best clay for miniature figures, highlighting polymer, air dry, and modeling clays for creative and detailed projects.