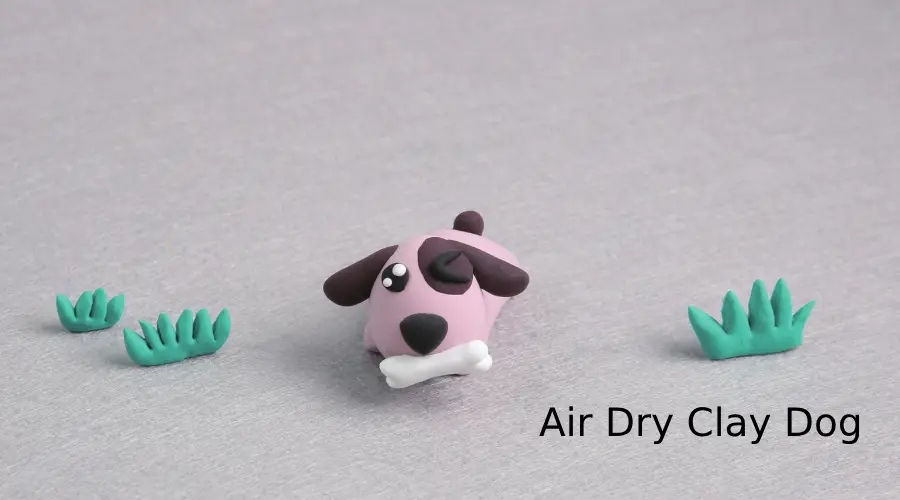
You may think it difficult to make a dog out of clay. Actually, air dry clay in today is easy to shape, even beginners and children can easily make a small clay dog.
Air-dry clay is soft and sometimes people call it super light clay because it’s like clouds. In school, children create simple but fun clay crafts using this super light clay. For kids who often play with light clay, their fingers will become more flexible. On the other hand, their imagination and creativity will become better.
Prepare materials
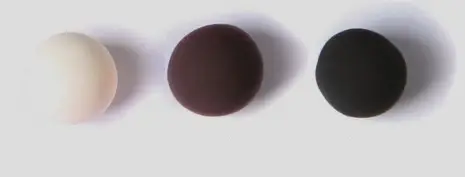
We used three colors of air-dry clay to make it: white, brown, black.
You may be wondering why the color of these clays is different from the one pictured above. We’re actually going to mix two of these colors to get a new one.
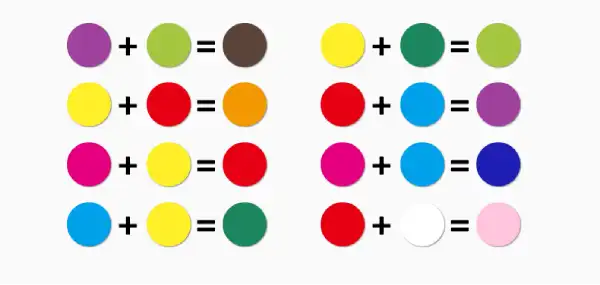
This will give you an idea of how color mixing works, and you can create colorful crafts with less air-drying clay.
Let’s get started.
How to Make a Dog Out of Clay Step-by-Step
Once you have your air-dry clay ready, we can start crafting. Don’t worry, our steps are as simple as possible so even beginners and kids can complete it.
Step 1: Mix Clay to Get New Color
First, we take a little bit of brown air-dry clay and mix it with white clay. This will give you a slight light brown or reddish color. You can choose different clay and mix them to create the color you like.
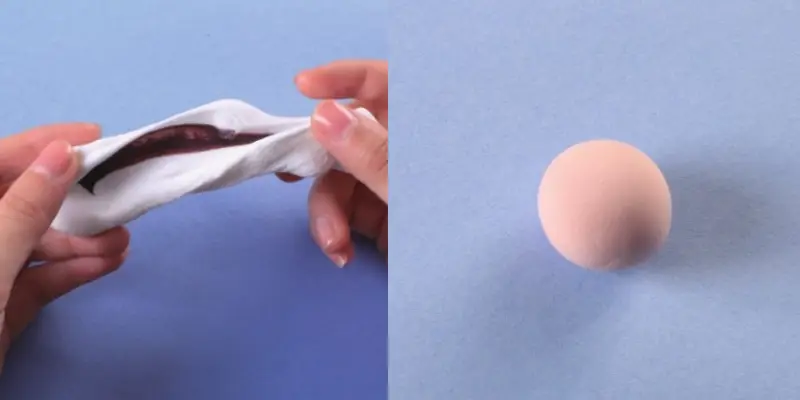
By stretching and kneading, the colors of the clay will gradually mix and form a uniform color. The more brown air-dry clay you use, the darker the final color will be. On the contrary, when there is more white clay, the color will be lighter.
Step 2: Make the Clay Dog Body
We knead the light brown air-dry clay into an ellipsoid shape with the palm of our hands. Then, use scissors to cut the ends so it looks like two teeth joined together. You can refer to the picture.
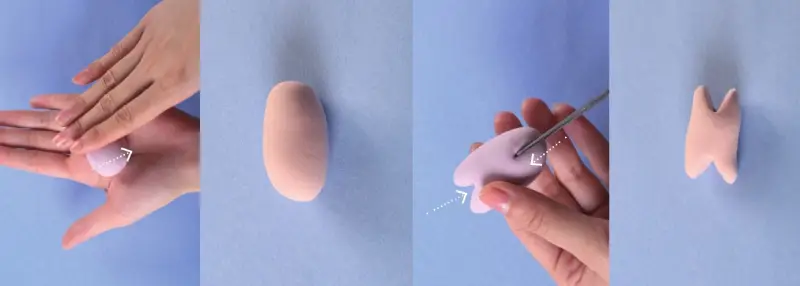
Next, we pinch both ends of the clay with our fingers and bend it inwards.
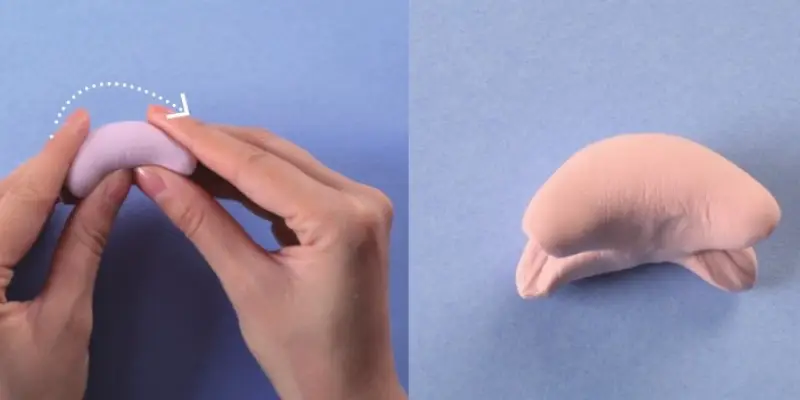
Step 3: Make the Clay Dog Head
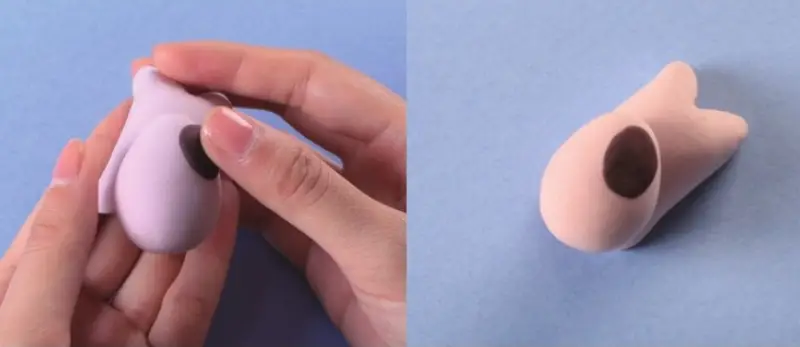
We knead a ball of light brown air-dry clay into a drop shape. You can roll it into a ball first and then apply a little pressure on one end to make it form a cone. Place this piece of clay against the front of the dog body, with the pointy part facing back.
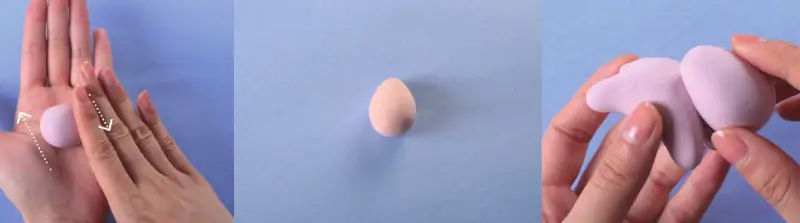
Take a little bit of brown clay and place it in the palm. Use your fingertips to roll it into a ball and then press it into a flat oval.
Stick it to the clay dog’s head, either left or right. Here we make it to the left half of the dog’s head.
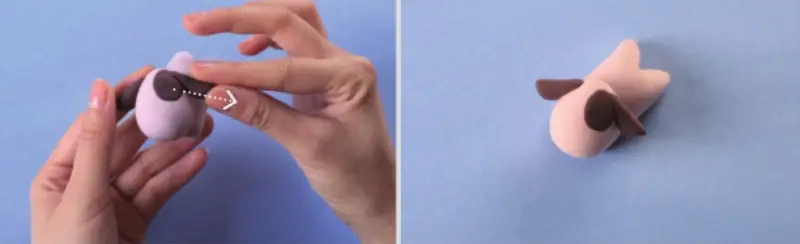
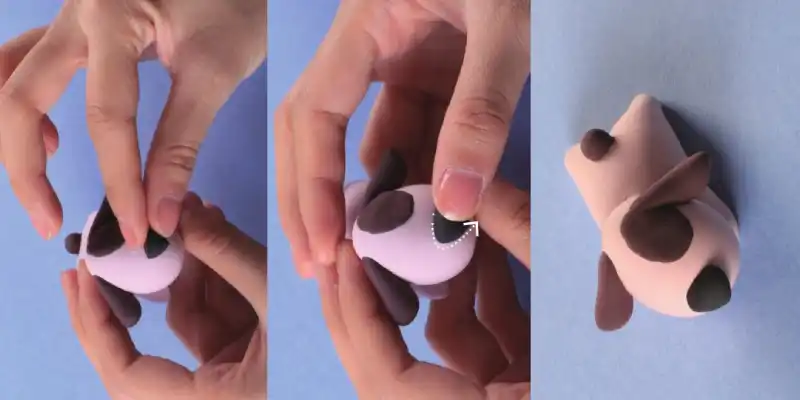
Step 4: Make the Clay Dog Ears
Take some brown clay and knead it into two drop shapes. These are the clay dog’s ears. You need to make one first and then the other, making sure both ears are about the same size.
Stick the clay ears to the back of the head and use your fingertips to create an upward shape.
Step 5: Make the Clay Dog Tail
Knead a small ball of brown clay and place it on the back of your body.
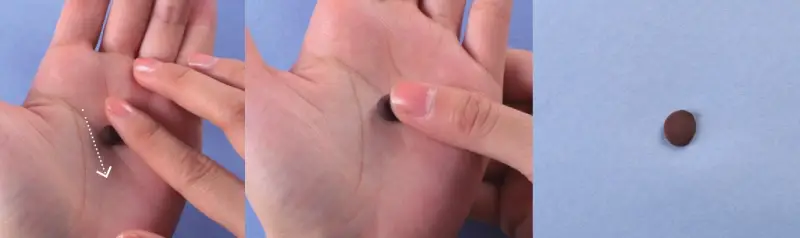
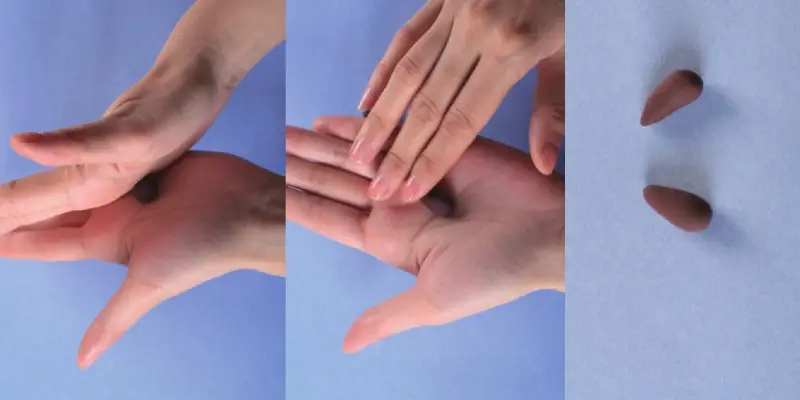
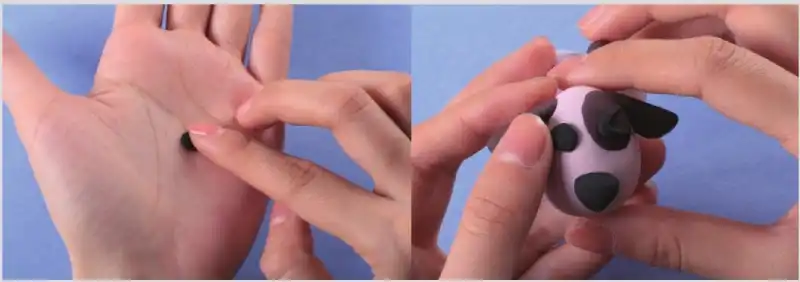
Step 6: Make the Clay Dog’s Nose
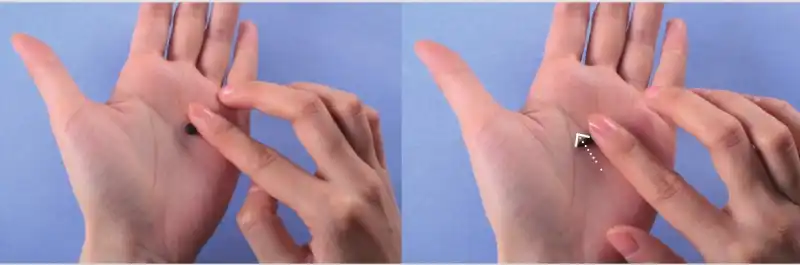
Take a bit of black clay and shape it into a triangle with your fingertips.
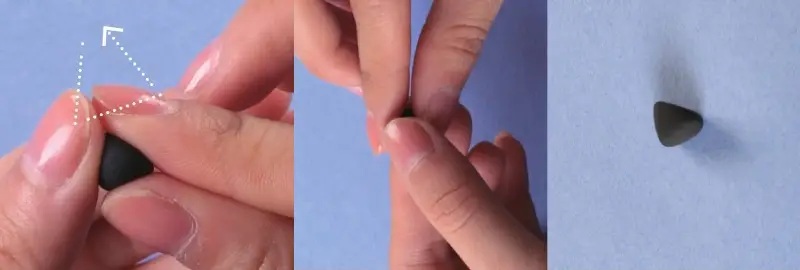
Place the nose in the center of the clay dog’s face and press it slightly to make its edges rounded.
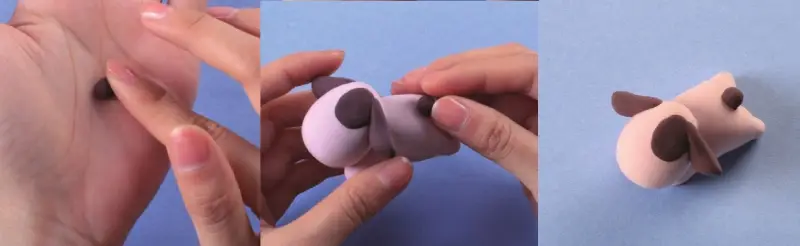
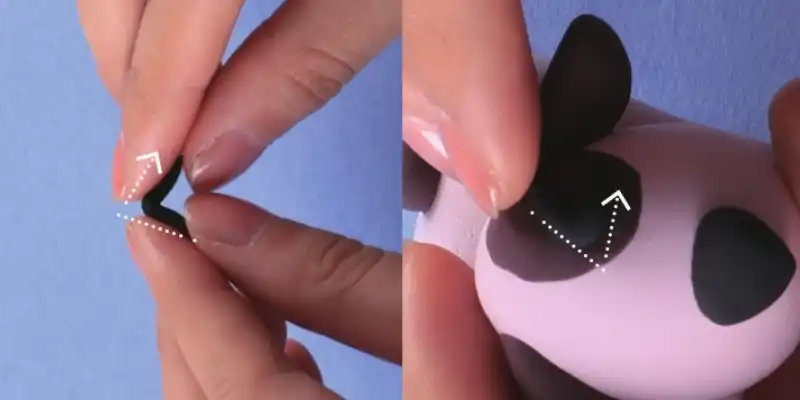
Step 7: Make Clay Dog Eyes
Take a bit of black clay and use your fingertips to roll it into long, thin strips.
Then, we bend the strip into the shape of an angle bracket (“<“). Attach this eye to the center of the previously brown clay.
Next, we made a small round ball out of black clay, flattened it and attached it to the other half of the face.
Take tiny white air-dry clay, knead it into two small white dots, and stick them on the round black eyes. This will make the clay dog look more lively.

Step 8: Make the Clay Dog’s Mouth
Use a plastic knife or other tool to draw an arc underneath the dog’s face so it looks like it’s smiling.

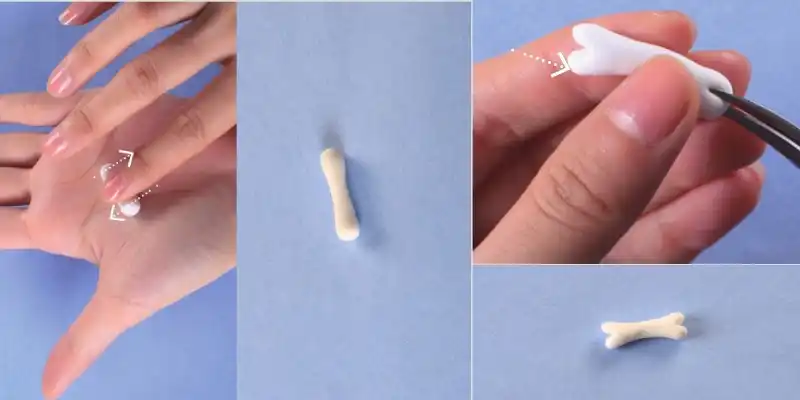
Step 9: Make Clay Bones
We make a bone out of white clay.
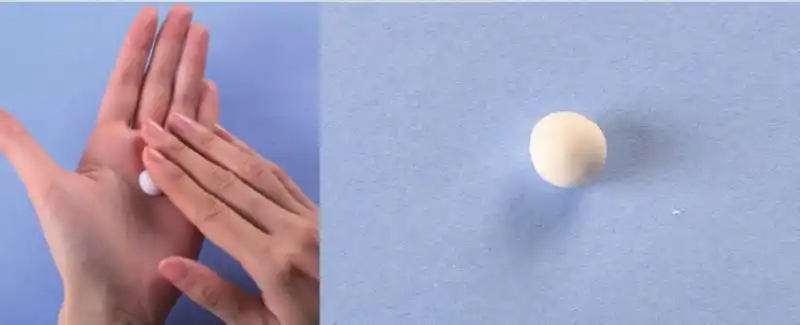
First roll the clay into a thick cylinder, then cut the two ends with scissors or other tools. You can press the cut section with your fingers to make it look rounder.
Place the bone in the clay dog’s mouth and the craft is complete!
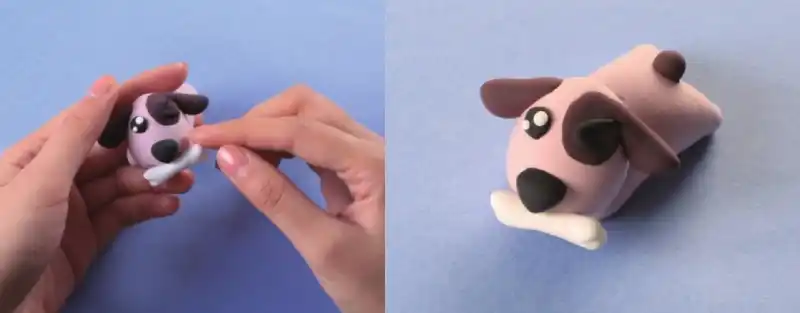
Applaud your efforts! You can place it anywhere in the house and its surface will dry within a few hours.
Conclusion
Overall, making a dog from air-dry clay is easy for beginners and children. This is an opportunity for children to increase their confidence and creativity, so the school will assign craft projects for students to create with air-drying clay.
You may also be interested in: