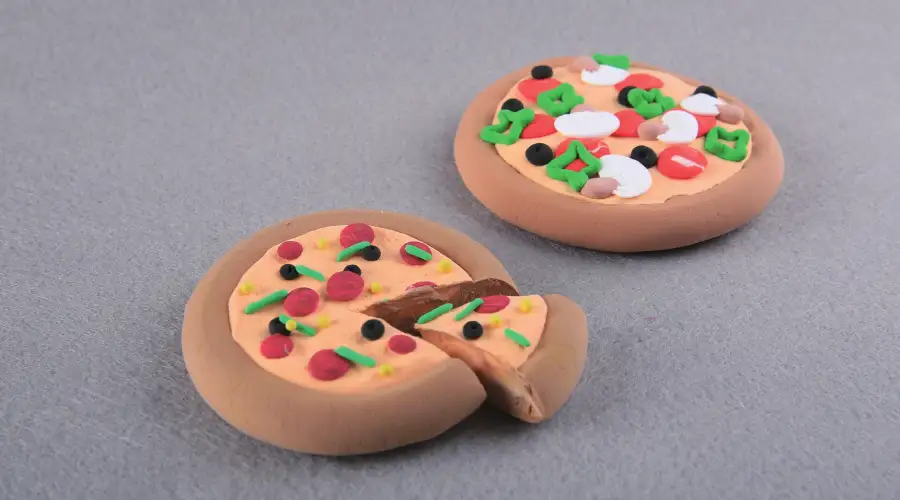
Do you have endless aftertaste for the Italian pizza in the restaurant? Now, we’re going to use air-dry clay to make a mini pizza! This clay art is something exciting for kids!
Prepare materials
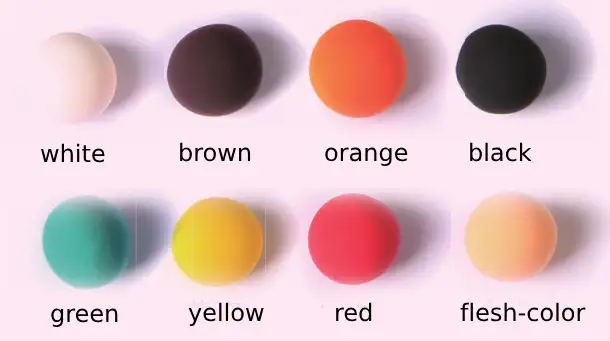
We need to prepare 8 colors of clay: white, brown, orange, black, green, yellow, red and flesh color.
Clear the table and let’s get started!
DIY Mini Pizza Clay Arts for Kids Tutorial
With this tutorial, we’ll help kids make mini clay pizzas step by step.
Step 1: Mix air-dry clay to make pizza pie
First, we mixed orange, brown, and white clay. This will give us a scone-like color.

Next, we add a little bit of yellow clay, which is like adding egg yolk to pizza. Its color is tastier. We flattened the mixed brown clay into a pizza shape.
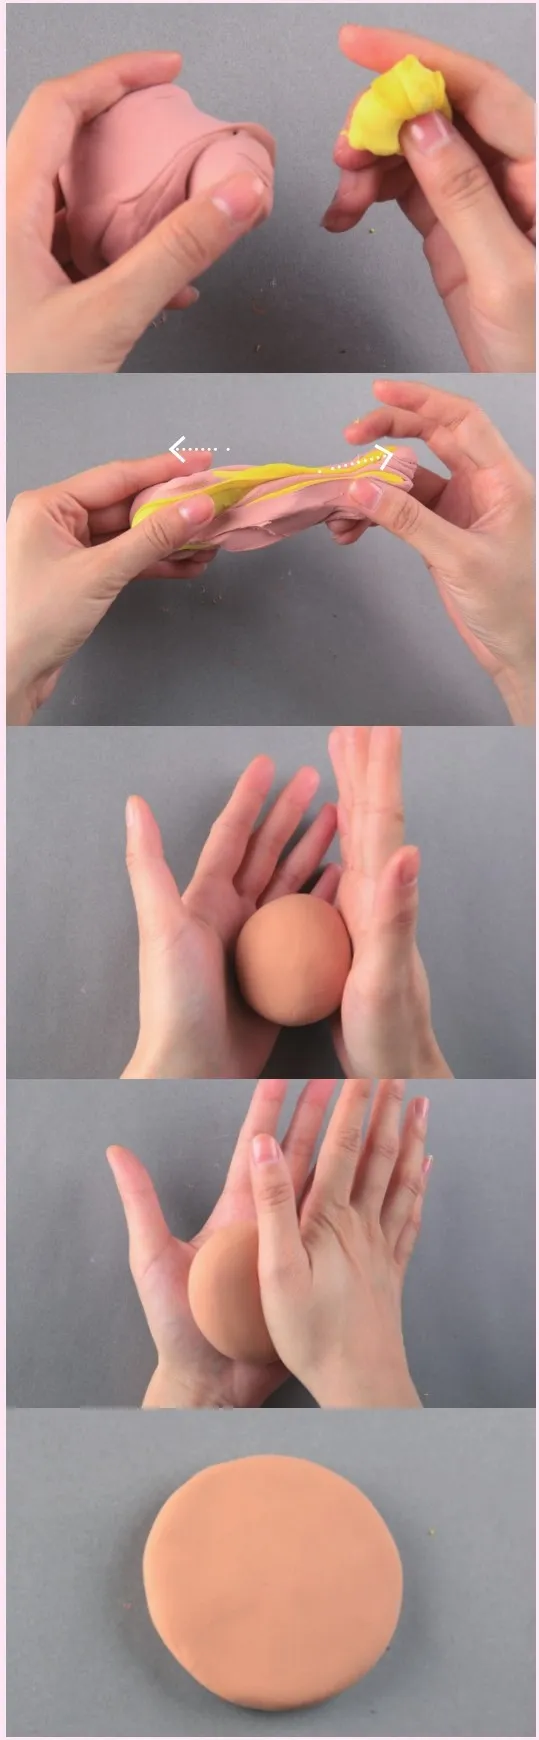
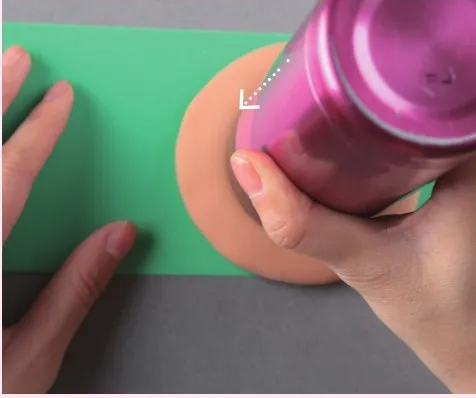
You can use a cup or can to make a dimple in the clay, where we will lay the cheese.
We then use an indentation stick or other small tool to press out some dough texture in the pizza.

Now, our clay pizza pie is done.
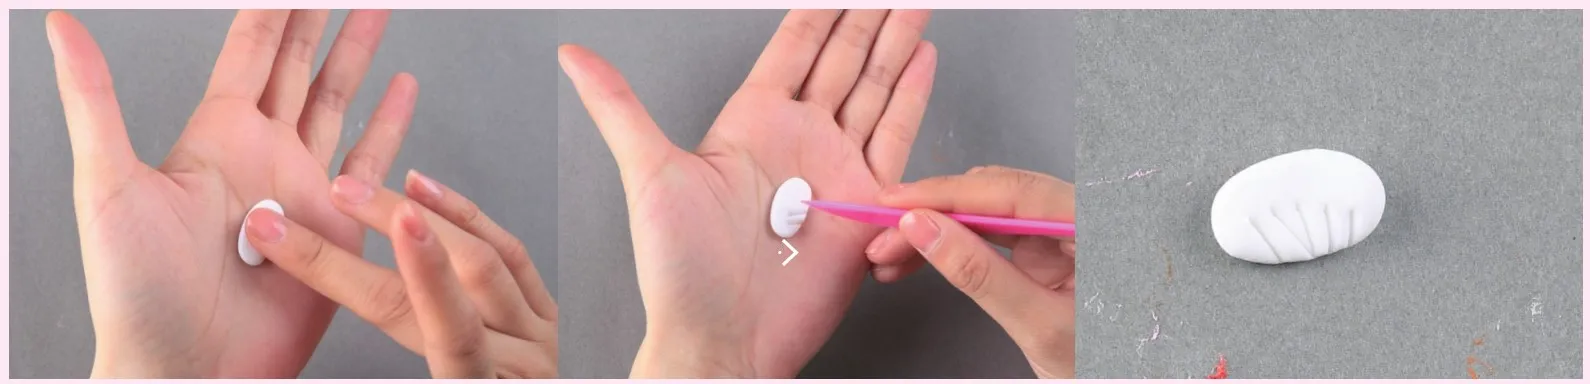
Step 2: Make air dry clay cheese
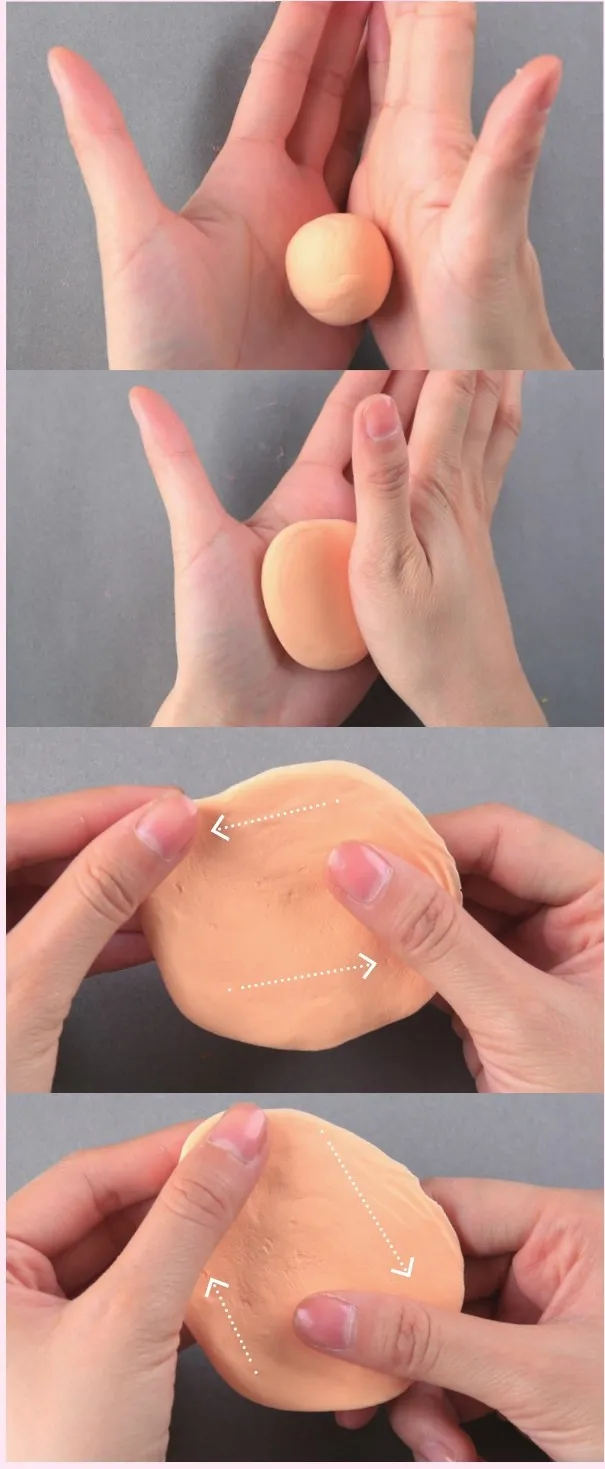
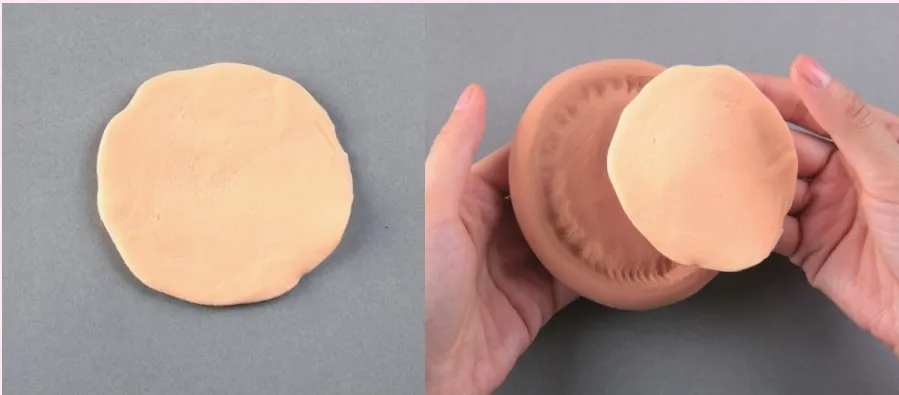
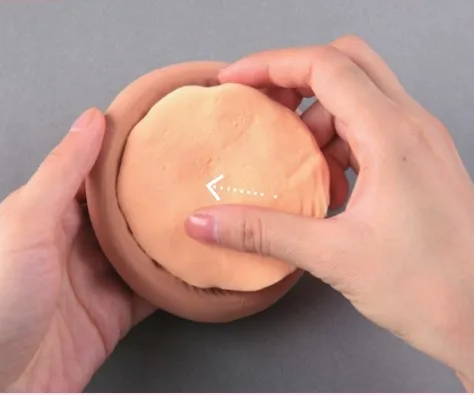
We use flesh-colored air-dried clay to make pizza cheese. After rolling the clay into a ball, flatten it with the palm of your hand. Then, we use our fingertips to slightly stretch the edges of the cheese. The clay cheese needs to be just big enough to fit into the previous pizza.
Next, we’re going to put the cheese on the pizza. You can press the cheese lightly with your fingers, which will help it stick together firmly.
After the cheese is done, let’s start making the pizza toppings!
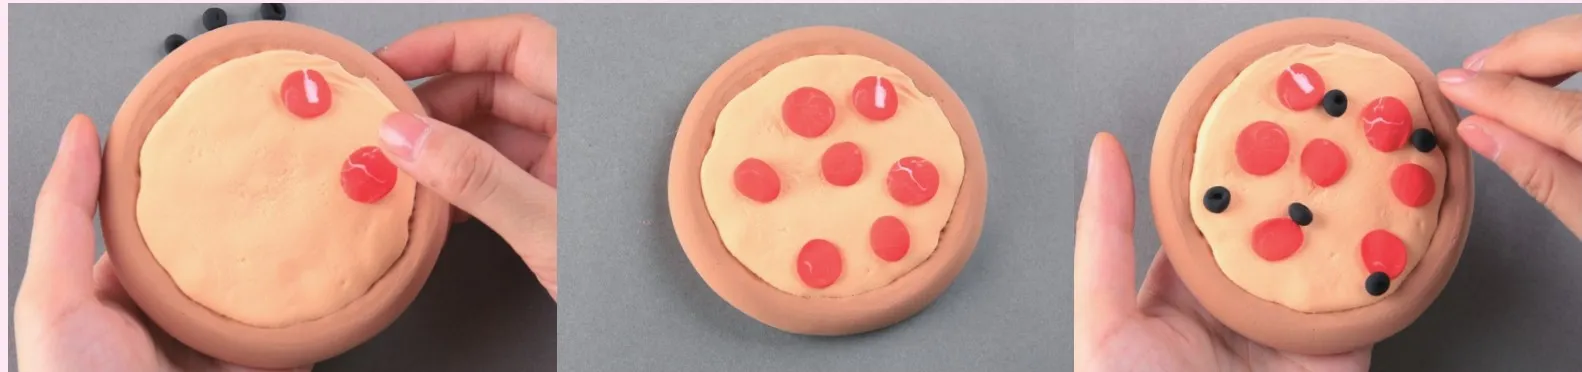
Step 3: Make sausage slices and black olives out of air dry clay
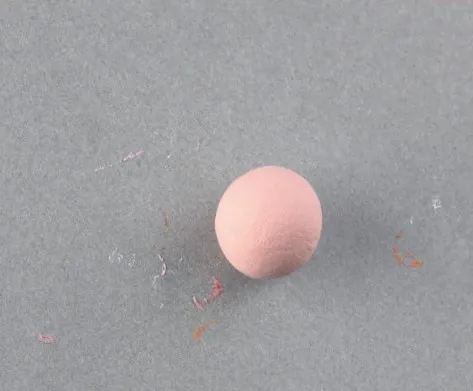
First, we take small amounts of orange, red, and white air-dry clay and mix them to create a red-orange color. Note that you don’t need to change them to another color entirely, it would be nice to see some white.
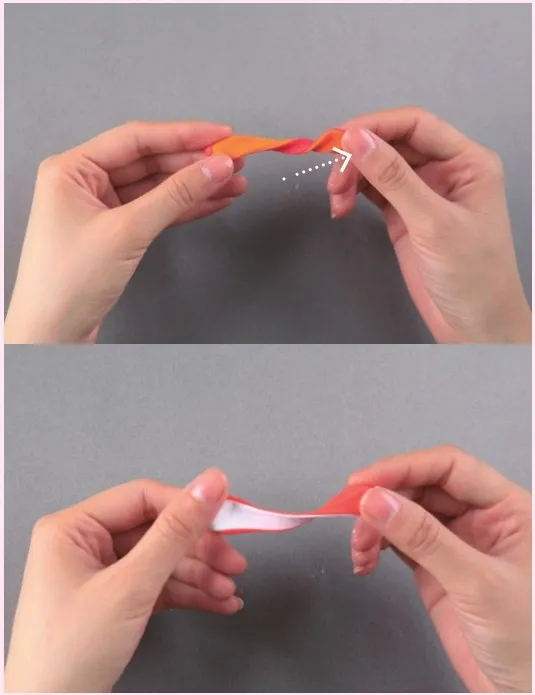
Next, knead the orange-red clay into a small ball and flatten it gently with your fingertips. In this way, we have made sausage slices.

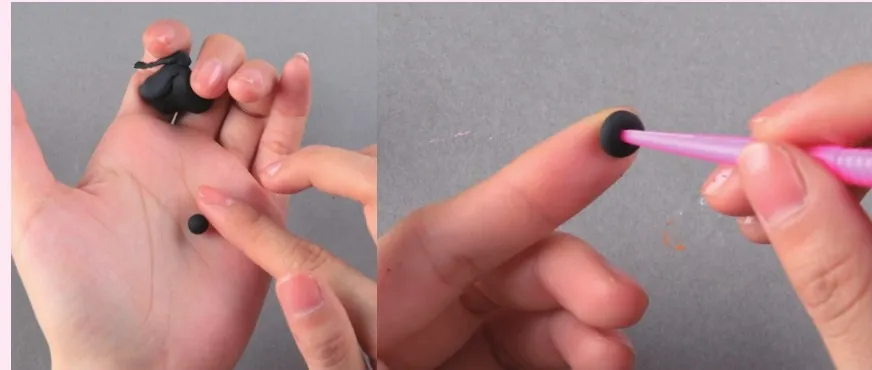
Next let’s make some black olives. this is very simple. We take some black clay and roll it into small balls with our fingertips. Then, use a chopstick or small tool to poke a hole in the center of the black ball.
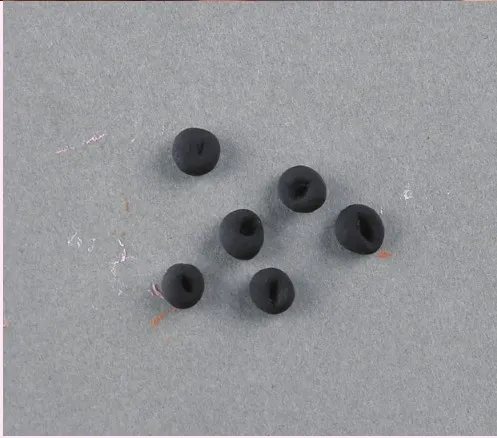
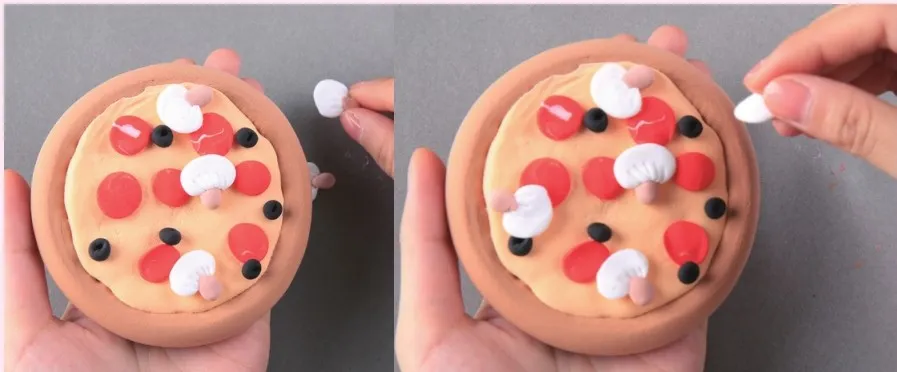
We put the sausage slices and black olives made above on the pizza. Just be careful not to stack them on top of the pizza. It would be better to spread it out a bit.
Finally, we make some shiitake mushroom slices to add flavor to the pizza.
Step 4: Make clay mushroom slices
We use white air-dry clay to make the canopy part of the mushroom. First, roll the clay into an oval shape. Be careful not to make it too big. Slightly flatten the oval clay and use a plastic knife to cut out the texture of the mushroom.
Next, we mixed flesh color and a little bit of brown clay to make the mushroom legs. When mixed they create a dark flesh color.
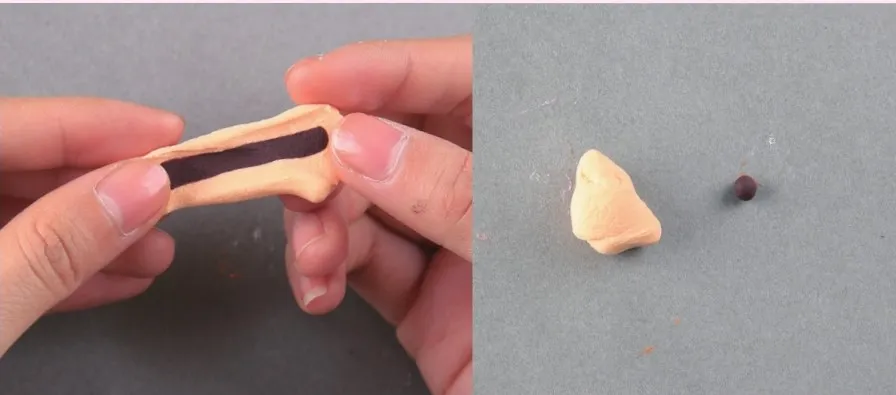
Knead the clay into a drop shape and glue it to the front mushroom umbrella. In this way we have made mushroom slices.
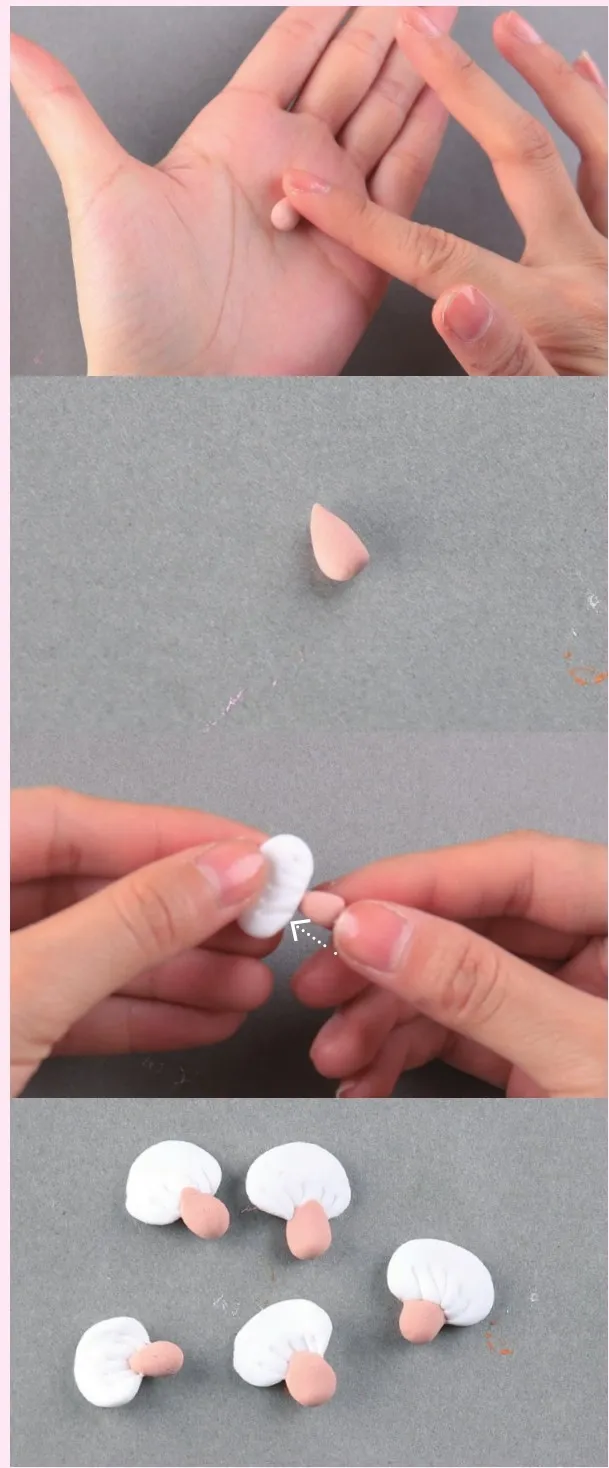
Finally, we spread the shiitake mushroom slices on the pizza.
Our pizza was already delicious, but it was missing a little green pop. Now let’s add some chili rings!
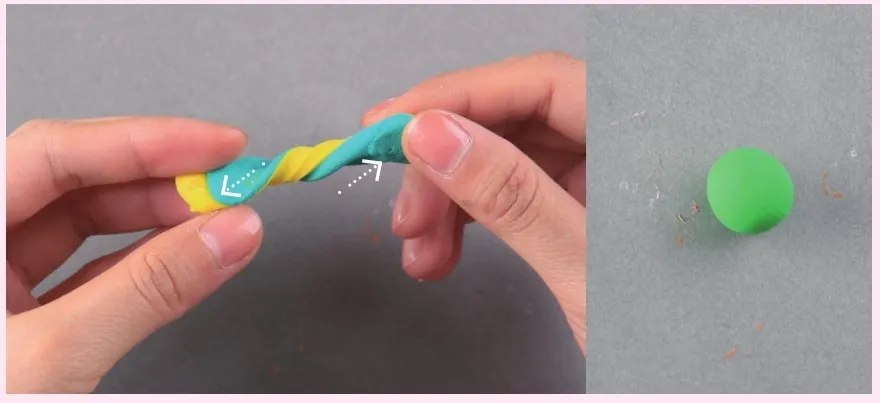
Step 5: Make the clay chili rings
First, we mixed yellow and green air-dry clay to get a bright emerald green color.
Next, we rolled the clay into two long strips and divided it evenly into six parts.
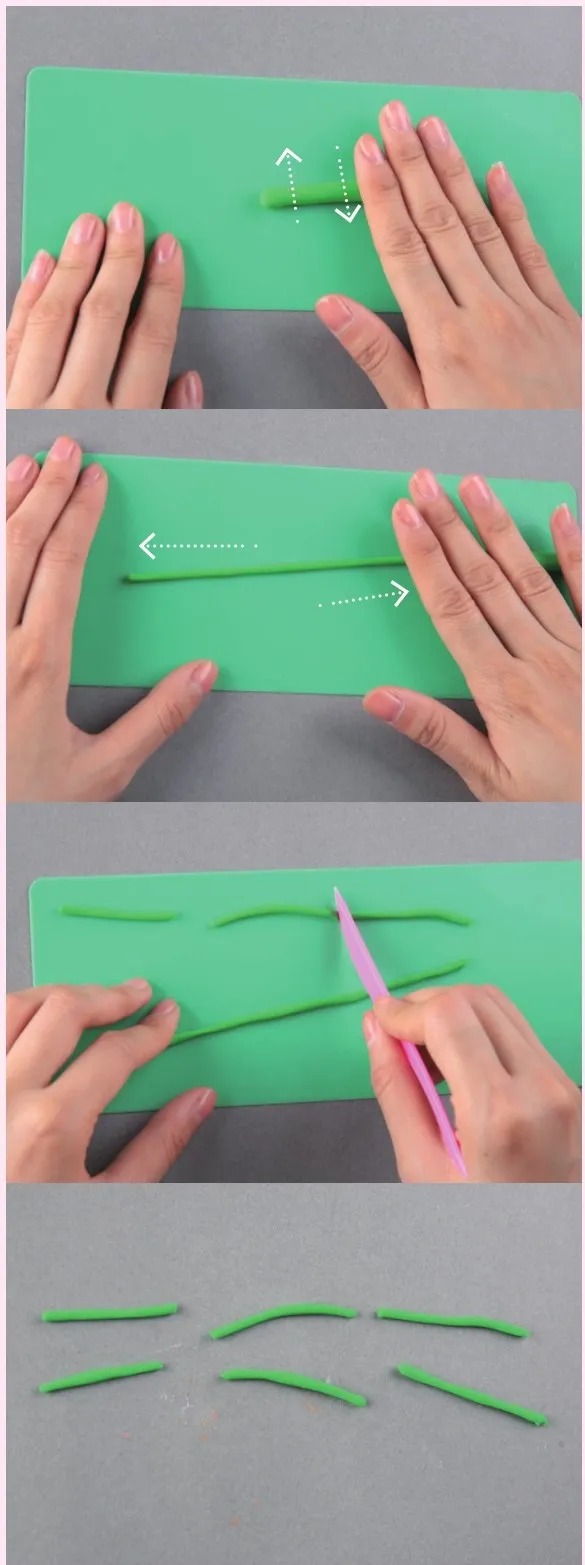
Pinch the cut pieces together with your fingers and squeeze the edges slightly to form a diamond shape.
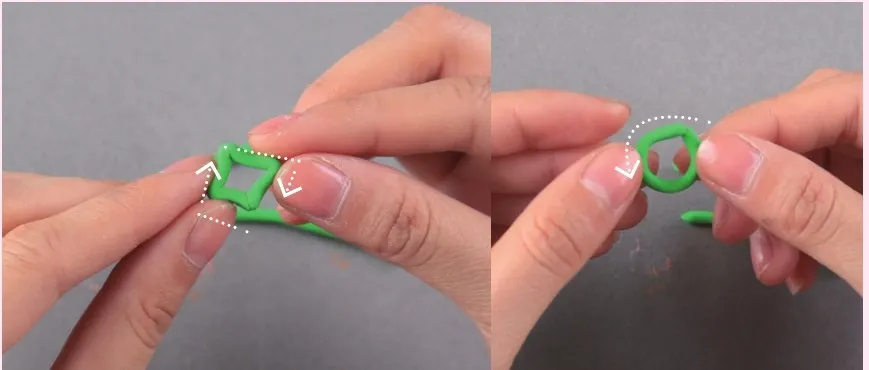
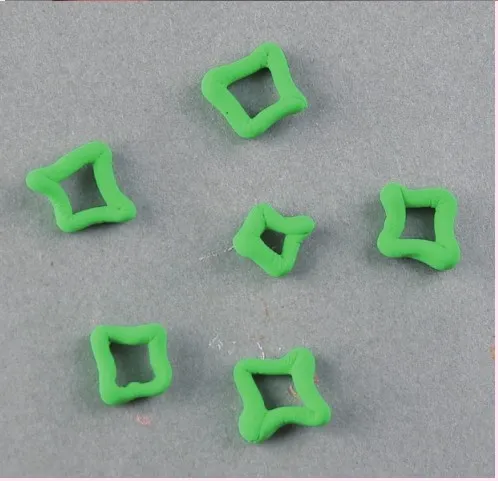
Finally, place these diamond-shaped pepper rings on top of the pizza.

Finish! Wait a few hours for it to dry and harden.
Mini pizzas made from air-dry clay can be stored for a long time as long as they are placed in a ventilated and moist place.
Conclusion
With the DIY clay art tutorial for kids above, we can make attractive mini pizzas step by step. As children play with air-dry clay, they learn about colors and shapes.
In addition, the lightness and room-temperature drying properties of air-dry clay also make it ideal for creating clay art. If you are interested, you can also continue reading the DIY clay tutorial below: