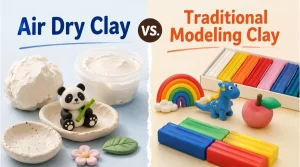
Air Dry Clay vs. Traditional Modeling Clay
Choosing between air dry clay and modeling clay depends on the activity goal. Explore their features, uses, and selection tips in this complete guide.

Air dry clay is a modeling material that hardens on its own when exposed to air. Unlike polymer or ceramic clays, it doesn’t need a kiln or oven to cure. Most air dry clay is made from natural minerals and water-based binders. It starts soft and easy to shape, then gradually dries into a firm, solid form.
You can find air dry clay in white, gray, or even terracotta colors. Some types are made for fine detail work, while others are better for classroom use. It’s often used by artists, kids, and hobbyists alike.
Air dry clay is a water-based modeling material. Unlike ceramic clay, it hardens at room temperature—no baking needed. It contains fine fillers, cellulose fibers, and binders that help it set firm when exposed to air.
It’s often used in classrooms and homes because it’s easy to shape and safe to handle. However, it’s not waterproof once dry. This makes it best for indoor use and decorative items—not for dishes or anything that holds liquid.
Air dry clay begins to harden as moisture evaporates. The outer layers dry first, then the inside. This slow process can take 24 to 72 hours, depending on the size and thickness.
Drying too fast can cause surface cracks. That’s why it’s best to let your project sit in a cool, dry place—away from direct sun, heaters, or fans. Some artists loosely cover their pieces with plastic wrap during the first day to slow down moisture loss.
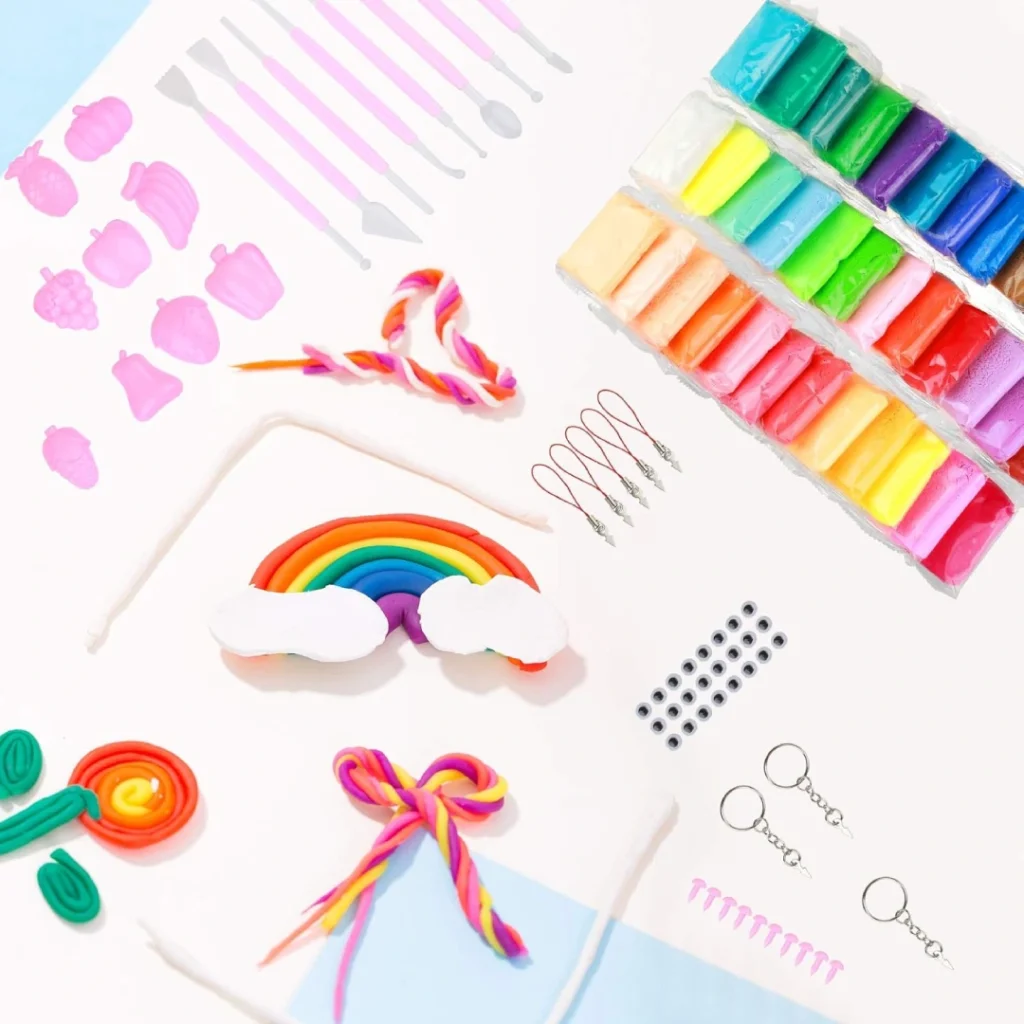
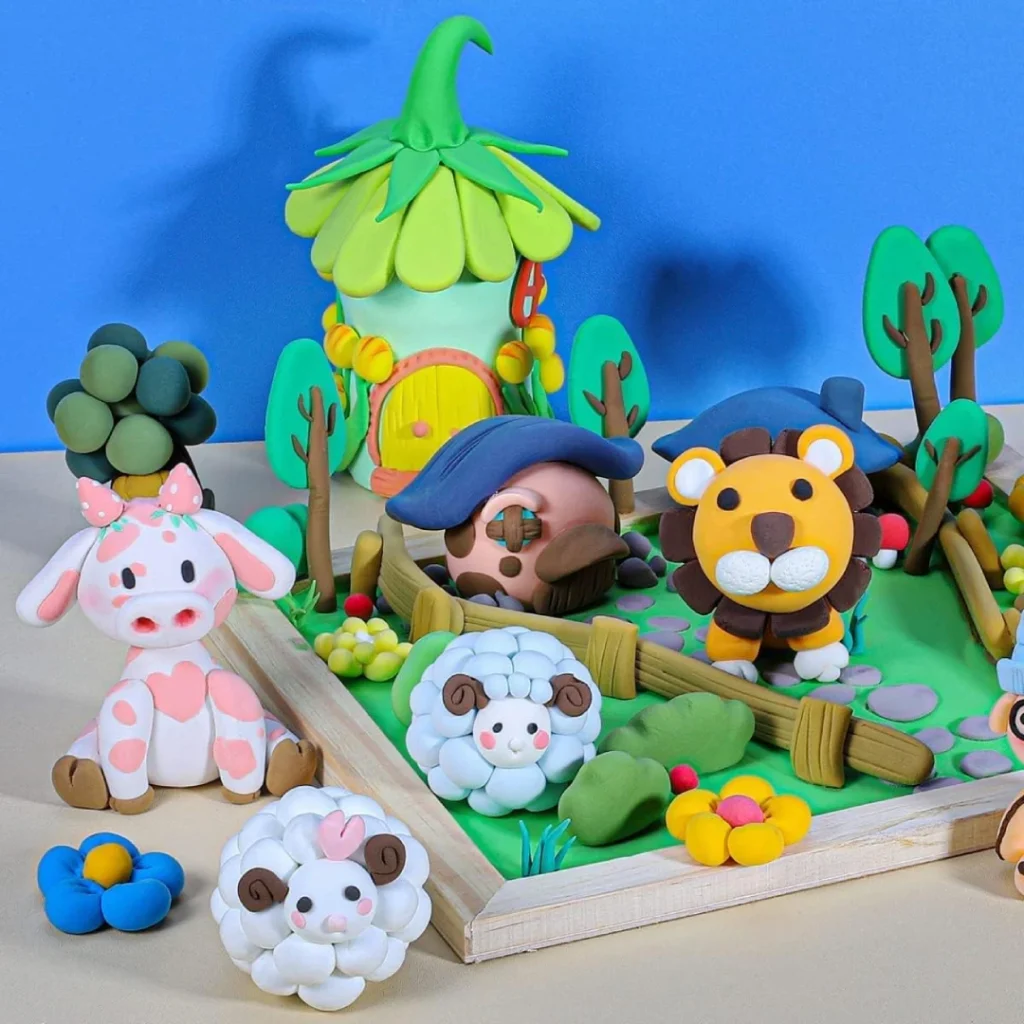
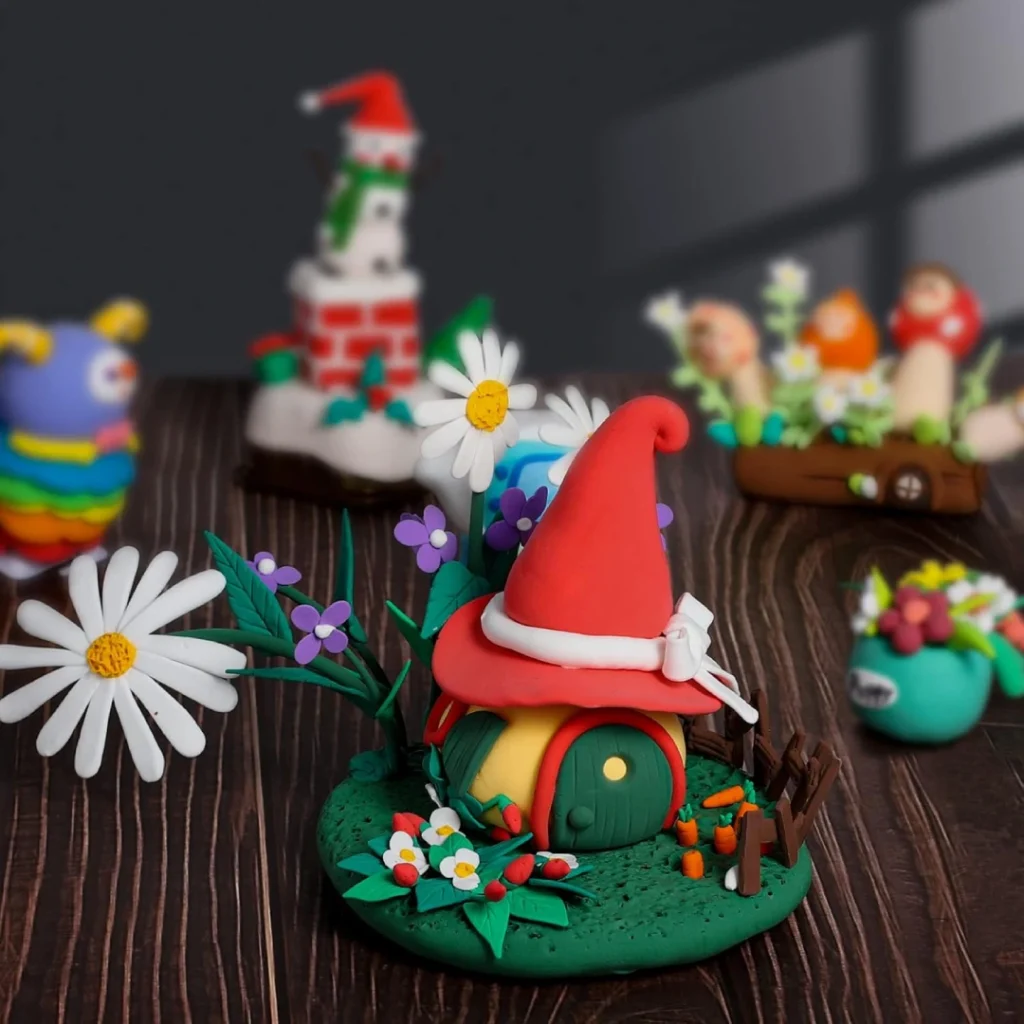
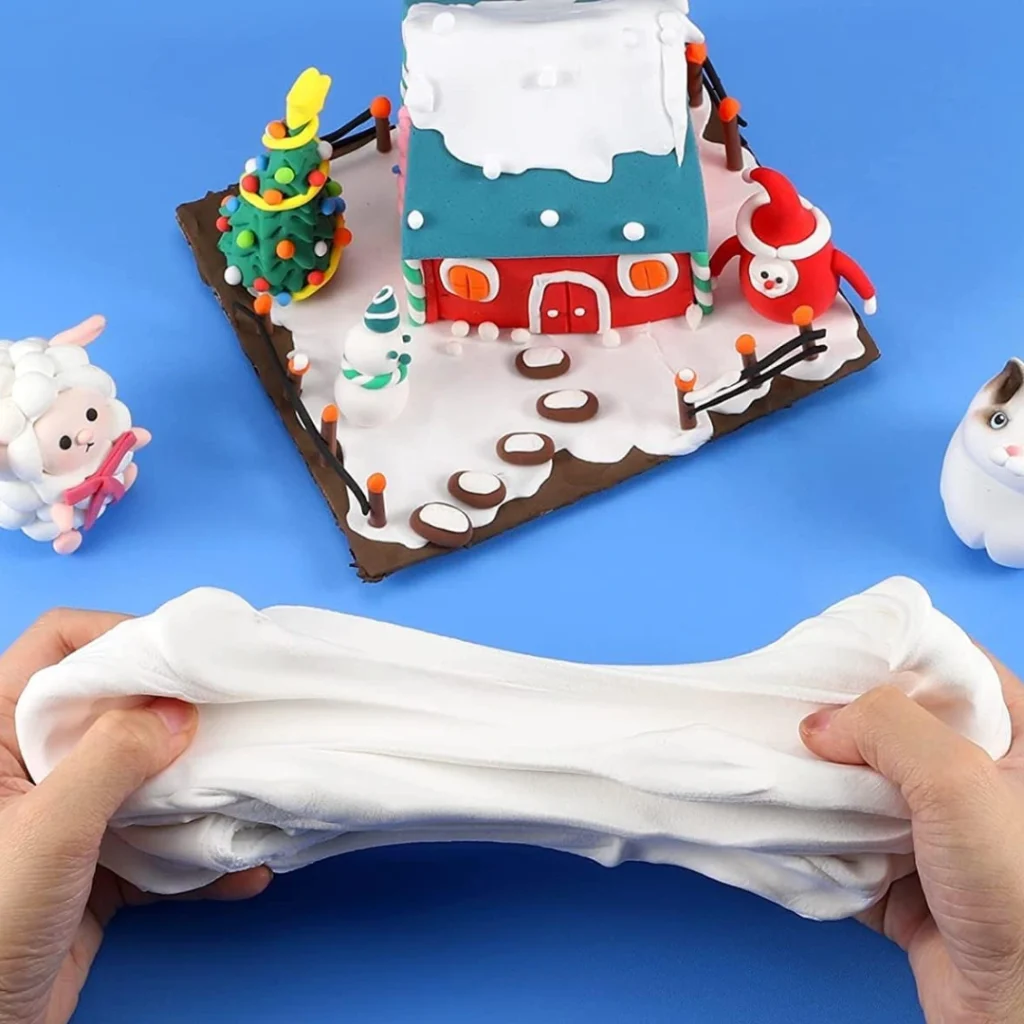
People use air dry clay to make figures, ornaments, jewelry, and home décor. In schools, kids shape animals or masks. In studios, artists build sculptures and mockups. It’s also handy for prototypes.
Because it’s lightweight and doesn’t need firing, air dry clay is great for quick projects. But keep in mind: it can chip or break if dropped. So it’s important to seal or reinforce finished work—depending on how it will be used.
Air dry clay is simple to use—but it’s also easy to mess up. These common mistakes can lead to cracking, warping, or wasted material. Knowing what not to do is just as important as knowing the steps to follow.
A little water can help smooth cracks or blend seams, but too much turns the clay into mush. Over-wetting also weakens the final structure and may cause warping or sagging while drying.
One 7th-grade art teacher shared how students would dip the whole piece in water “to make it smoother.” The result? Every sculpture collapsed within hours. Use a damp sponge—not a puddle—and keep water light.
Air dry clay is made to cure slowly. Using an oven or hairdryer may seem like a shortcut, but it causes cracks and brittleness. The outer layer hardens too fast while the inside stays wet, leading to splits or bubbles.
Unlike polymer clay, this material isn’t heat-cured. So skip the toaster oven. Just let it dry on its own. Patience gives better results—and fewer disappointments.
Air exposure starts the drying process, so storing air dry clay wrong can ruin an entire batch. Leaving it open, even for an hour, can create a dry crust that’s hard to rework.
Always seal unused clay in an airtight container or zip bag. Wrap it in plastic wrap first for extra protection. Keep it away from sunlight, heat, or drafty air vents—those dry it out too fast, even when packed.
Not all clays play well together. Mixing air dry clay with other varieties—like polymer, oil-based, or ceramic clay—can lead to major problems. These clays dry differently, cure differently, and are made from different materials.
Air dry clay is water-based. Polymer clay is plastic-based and needs oven heat to harden. Their textures, drying times, and flexibility are not the same.
If you try to sculpt with both in one piece, one may shrink or warp while the other holds its shape. Even worse, the paint or finish may not bond evenly across the surface.
Some clays contain plasticizers or oils that break down water-based clay. Others react poorly when dried or baked together. The result can be sticky, crumbly, or unstable.
Even if the piece looks fine at first, it might crack or peel weeks later. For best results, always use one type of clay per project. If you want different textures or effects, explore surface treatments instead of mixing the base materials.
Air dry clay needs the right base to dry evenly and hold its shape. If the surface is too slick or absorbent, it can cause sticking, cracking, or warping. Picking the wrong surface might ruin your whole project before it’s even dry.
Avoid working on glass, marble, or untreated wood. Smooth surfaces like these can cause air dry clay to cling too tightly or dry unevenly. In some cases, it pulls away and forms cracks around the edges.
Cardboard and untreated paperboard aren’t good either. They absorb moisture from the clay, speeding up drying and causing curling or distortion—especially in thin pieces.
>> Lightweight Air Dry Clay vs. Polymer Clay: Pros and Cons
Use non-stick surfaces like silicone mats, wax paper, or smooth plastic trays. For 3D builds, cover your base with a thin layer of petroleum jelly or baking paper to prevent sticking.
If applying clay to a fixed object, such as wood or canvas, seal the surface first with a thin layer of acrylic gesso or glue. This slows moisture loss and helps the clay grip without damage.
Drying is not just “waiting”—it’s a crucial step. Most issues like cracks, curling, or surface damage happen during this time. Rushing or ignoring drying conditions can undo hours of careful sculpting.
Do not use heaters, fans, or direct sunlight to speed up drying. When air dry clay dries too fast on the outside, the inner clay stays soft. This uneven drying leads to deep surface cracks.
Instead, let it dry in a cool, shaded space. For thicker pieces, loosely cover them with plastic wrap during the first day to reduce moisture loss. This helps the whole piece dry at the same pace.
High humidity can cause drying to take days longer—and may even cause mold if airflow is poor. Very dry or hot air can crack your project.
Ideally, keep your piece in a room with balanced airflow and temperatures around 60–75°F (15–24°C). If your climate is unstable, consider drying in a closed box with small ventilation holes to control airflow.
Painting too early is one of the most common mistakes. Even if the outside feels dry, hidden moisture inside the clay can ruin your paint job—or worse, lead to mold or bubbling paint.
Paint seals the surface. If the clay isn’t dry inside, trapped moisture may push out, causing cracks, blistering, or discoloration. Acrylic paint may peel, and watercolor may bleed unevenly.
It’s tempting to speed things up, especially with kids. But unfinished drying hides under the surface—and can ruin the final look after all that effort.
Wait at least 48–72 hours for most small projects. For thicker pieces, check by gently tapping the base. A dry sound means it’s ready; a dull sound often means it’s still wet inside.
Use a light coat of acrylic primer before painting. This helps color stick evenly. Once painted, seal with a clear acrylic varnish or clay-safe sealant to protect the surface and finish.
Cleaning up after working with air dry clay might seem simple—but the wrong habits can damage your plumbing or ruin your tools. It’s important to clean up with care, especially when working with kids or in shared spaces.
Air dry clay is water-based, but that doesn’t mean it dissolves like soap. When washed down the sink, leftover clay can settle in pipes, harden over time, and cause blockages.
Even small scraps can clump and trap other debris. Over time, this builds up and may require expensive plumbing repairs. Instead of rinsing, collect clay bits with a scraper or paper towel and throw them in the trash.
To clean tools, wipe off excess clay with a dry cloth first. Then rinse under lukewarm water—never hot. Use a soft brush to clean small crevices, especially on texture tools or sculpting knives.
For tabletops, use a damp sponge or cloth. Avoid using harsh cleaners, as they may affect unfinished clay still on the surface. Let everything air dry fully before storing to prevent mold or residue buildup.
Some clay projects may look like bowls or mugs—but that doesn’t mean they’re food-safe. Air dry clay is made for crafting, not eating or drinking. Using it with food poses real health and safety risks.
Air dry clay contains binders, fibers, and additives that aren’t rated for food contact. Even if sealed with paint or varnish, the surface can chip or wear down over time. That opens the door for bacteria, mold, or chemicals to leach out.
According to the U.S. Food and Drug Administration (FDA), only materials explicitly tested and certified as “food safe” should be used for items like plates, utensils, or cups.
If you want to make food-safe items, use materials like oven-bake clay labeled “food safe” or food-grade silicone molds. These are designed to withstand repeated washing and meet safety standards.
For decorative pieces only—like faux cakes or cupcake toppers—air dry clay is fine. Just be sure to label them “non-edible” so there’s no confusion, especially with younger children.
Air dry clay is fun and versatile, but it needs careful handling. Avoiding common mistakes—from drying too fast to using it with food—can protect your projects and your safety. With a little planning, your clay creations can last and look great!
>> What to Make from Air Drying Clay: 10 Creative Projects
Choosing between air dry clay and modeling clay depends on the activity goal. Explore their features, uses, and selection tips in this complete guide.
Understand the science behind eco-friendly air dry clay, including material selection, production difficulties, and the future of sustainable toy materials.

Find out why parents and educators prefer DIY craft kits that encourage hands-on learning, independent creativity, and skill development.

Understand how toy ideas become finished products through OEM manufacturing, with key steps, decision points, and compliance requirements.